Written by Lauren
31 May 2019
There are two student-run galleries at the University of Gothenburg’s fine art campus where I study photography, and any art student can apply to have an exhibition there. Early this semester, my classmates and I decided it was time to have a group exhibition of our work. So, after months of planning, organisation and doing art, our exhibition finally opened on Friday 10th May! Here’s how we put it all together.
Step One: Applying for exhibition and funding
First, we had to register interest with the school’s Gallery Group who take care of the galleries. There are always more students wanting an exhibition than there is space and time for, so we were happy that we got the opportunity to exhibit. Applications are open twice a year, so there is always a chance to try for an exhibition again. We also applied for a little bit of funding from our student union to put towards snacks for the exhibition opening.
Step Two: Organisation and Planning
In the early stages of planning, we met once per month to make decisions about the group show and to share out all the tasks that go into making an exhibition: making a poster and catalogue, promoting the show through social media, buying drinks and snacks for the show opening and making a schedule for guarding the exhibition during its opening hours. We also decided on a theme “new realities”, which also became the title of the exhibition.
Step Three: Curating
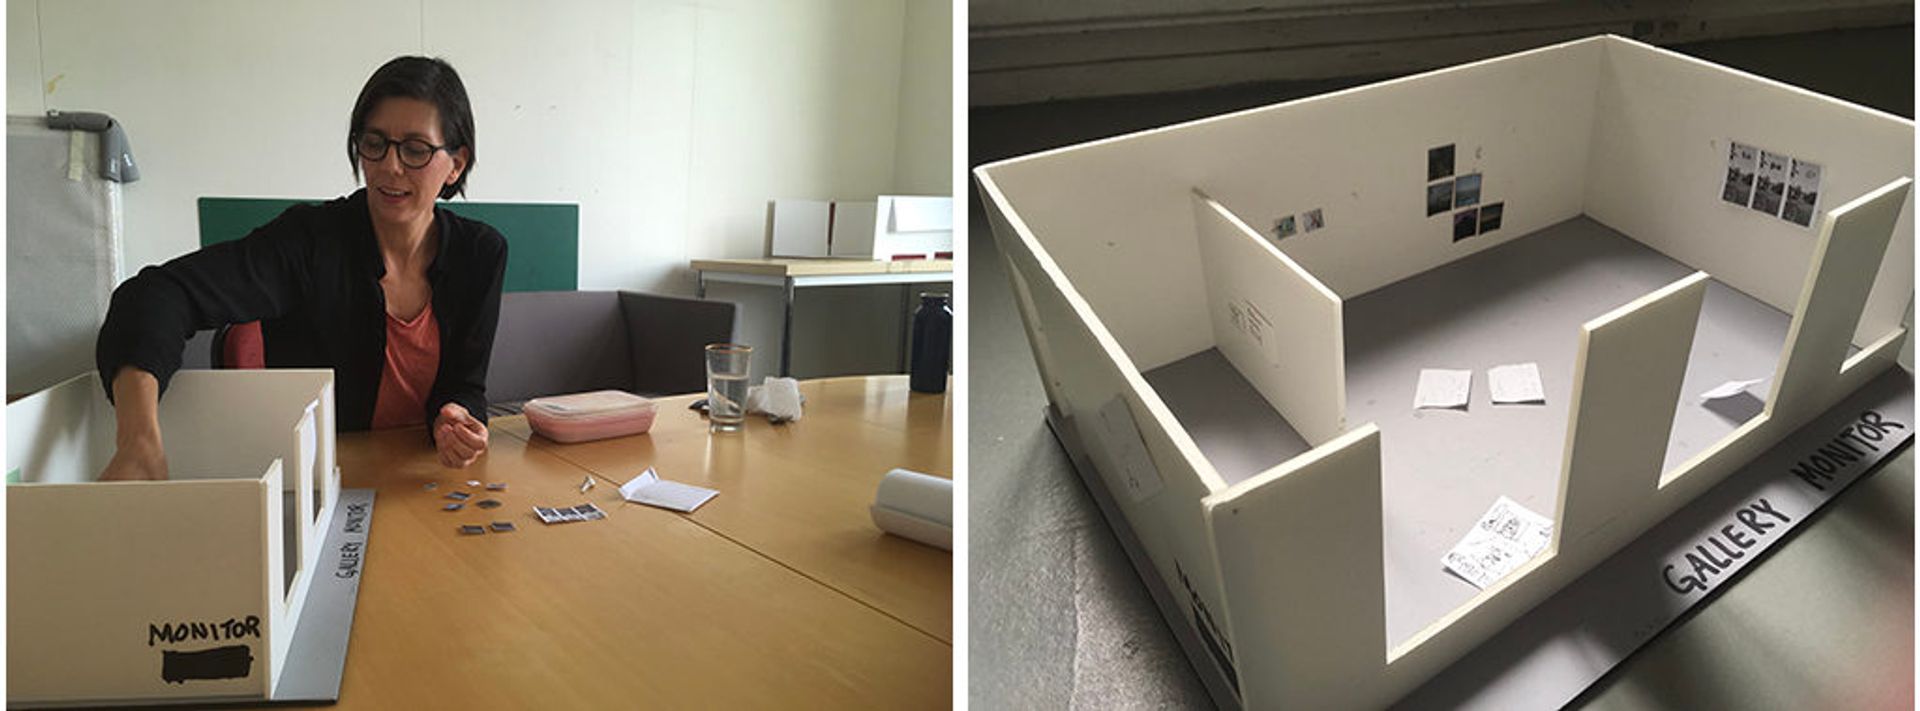
Once we all had a pretty good idea of the work we wanted to exhibit, we each made a 1:19 scale replica of the work and placed it inside a model of the gallery. This gave us a rough idea of where the works could go, and which artworks worked well beside each other, and how the 11 of us taking part would all fit in. I find this part really fun, as it’s the first glimpse of what the final exhibition will look like!
Step Four: Finish making the artwork and creative decisions
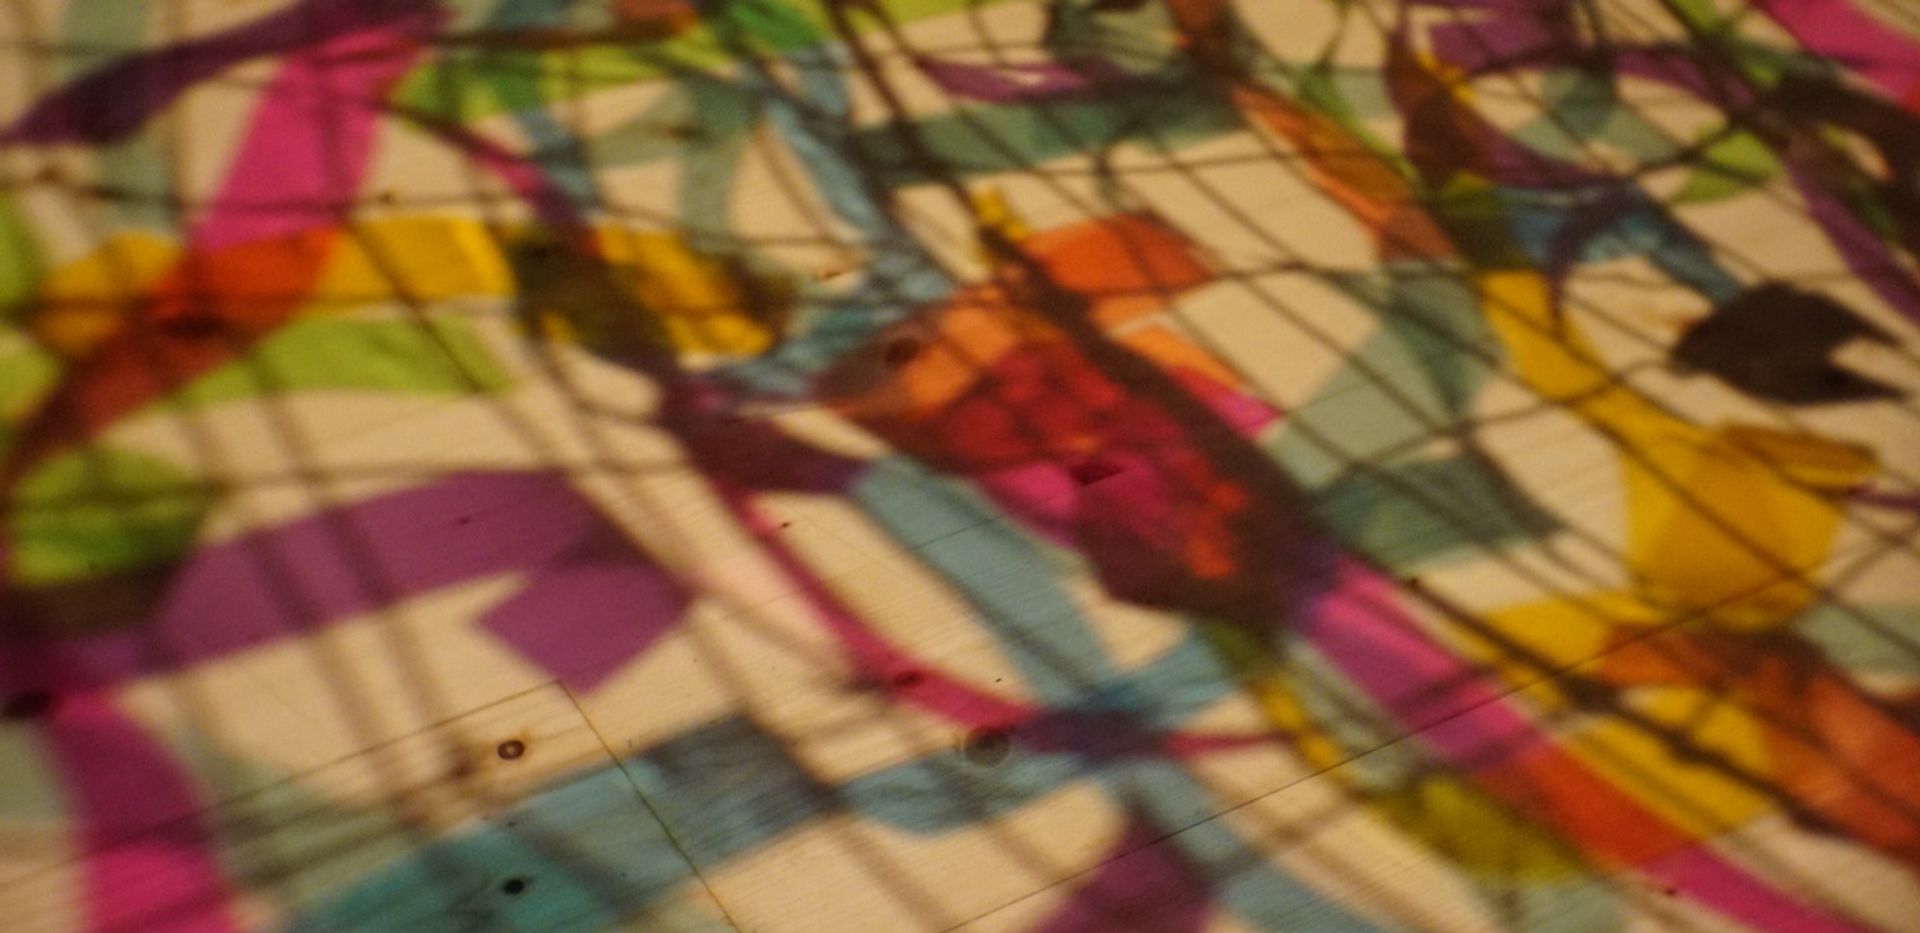
The process of making the work has been ongoing all semester. Some of us worked in the analogue darkroom, others produced work digitally. Some of my classmates are working with text or sculpture rather than photography for this exhibition. For my work, I produced 80 small photograms in the black and white darkroom. Once I had produced them, I then worked on figuring out exactly how I would display them. For this piece, it was important that people could walk all the way around it and see the back of the images as well as the front. I experimented a bit with different display methods, such as mounting them to the gallery windows and a plastic sheet. I agonised over whether to use the plastic for ages, as you can see from this series of images of my classmates holding up a plastic sheet for me to look at!
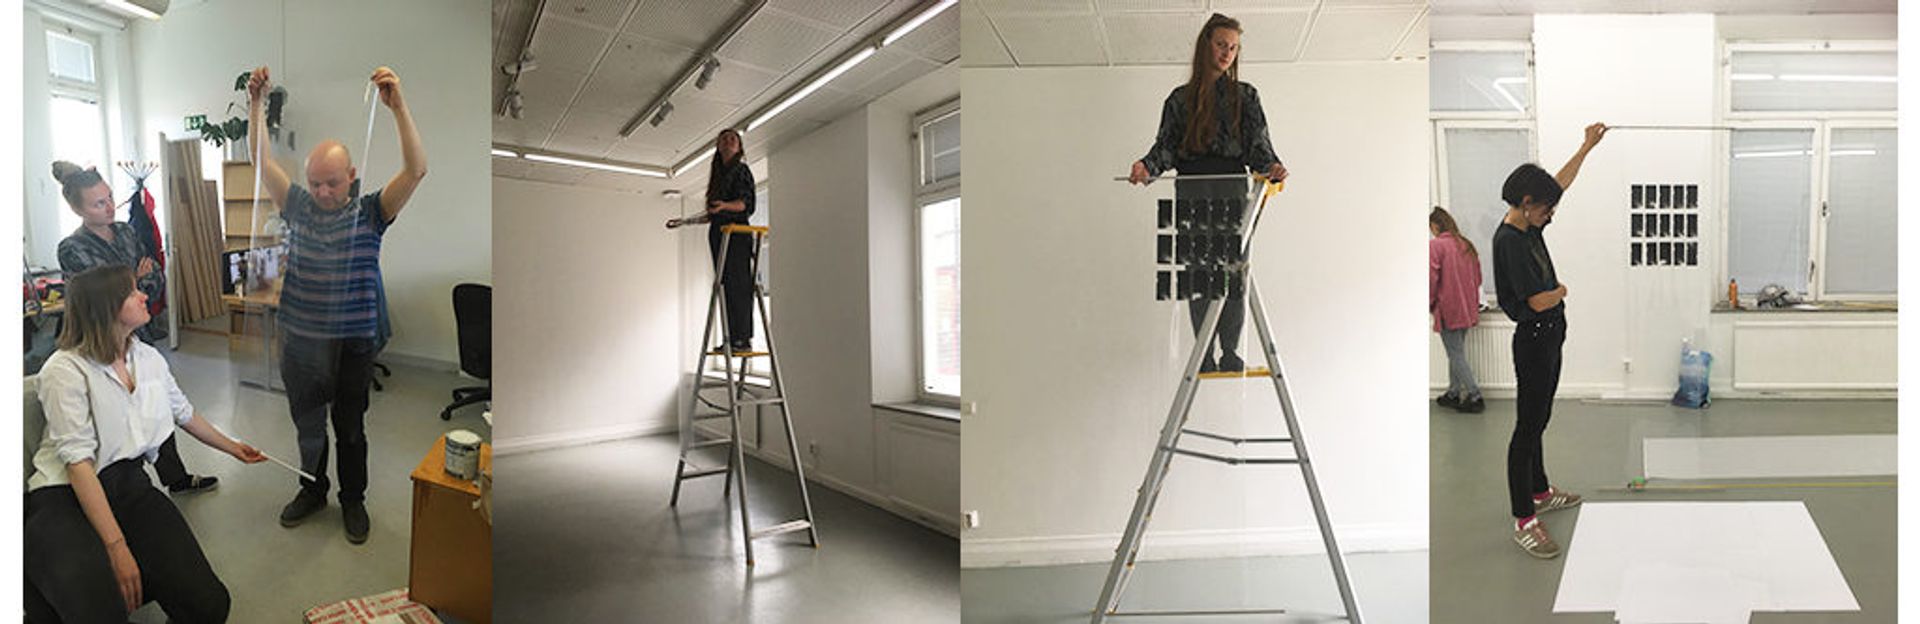
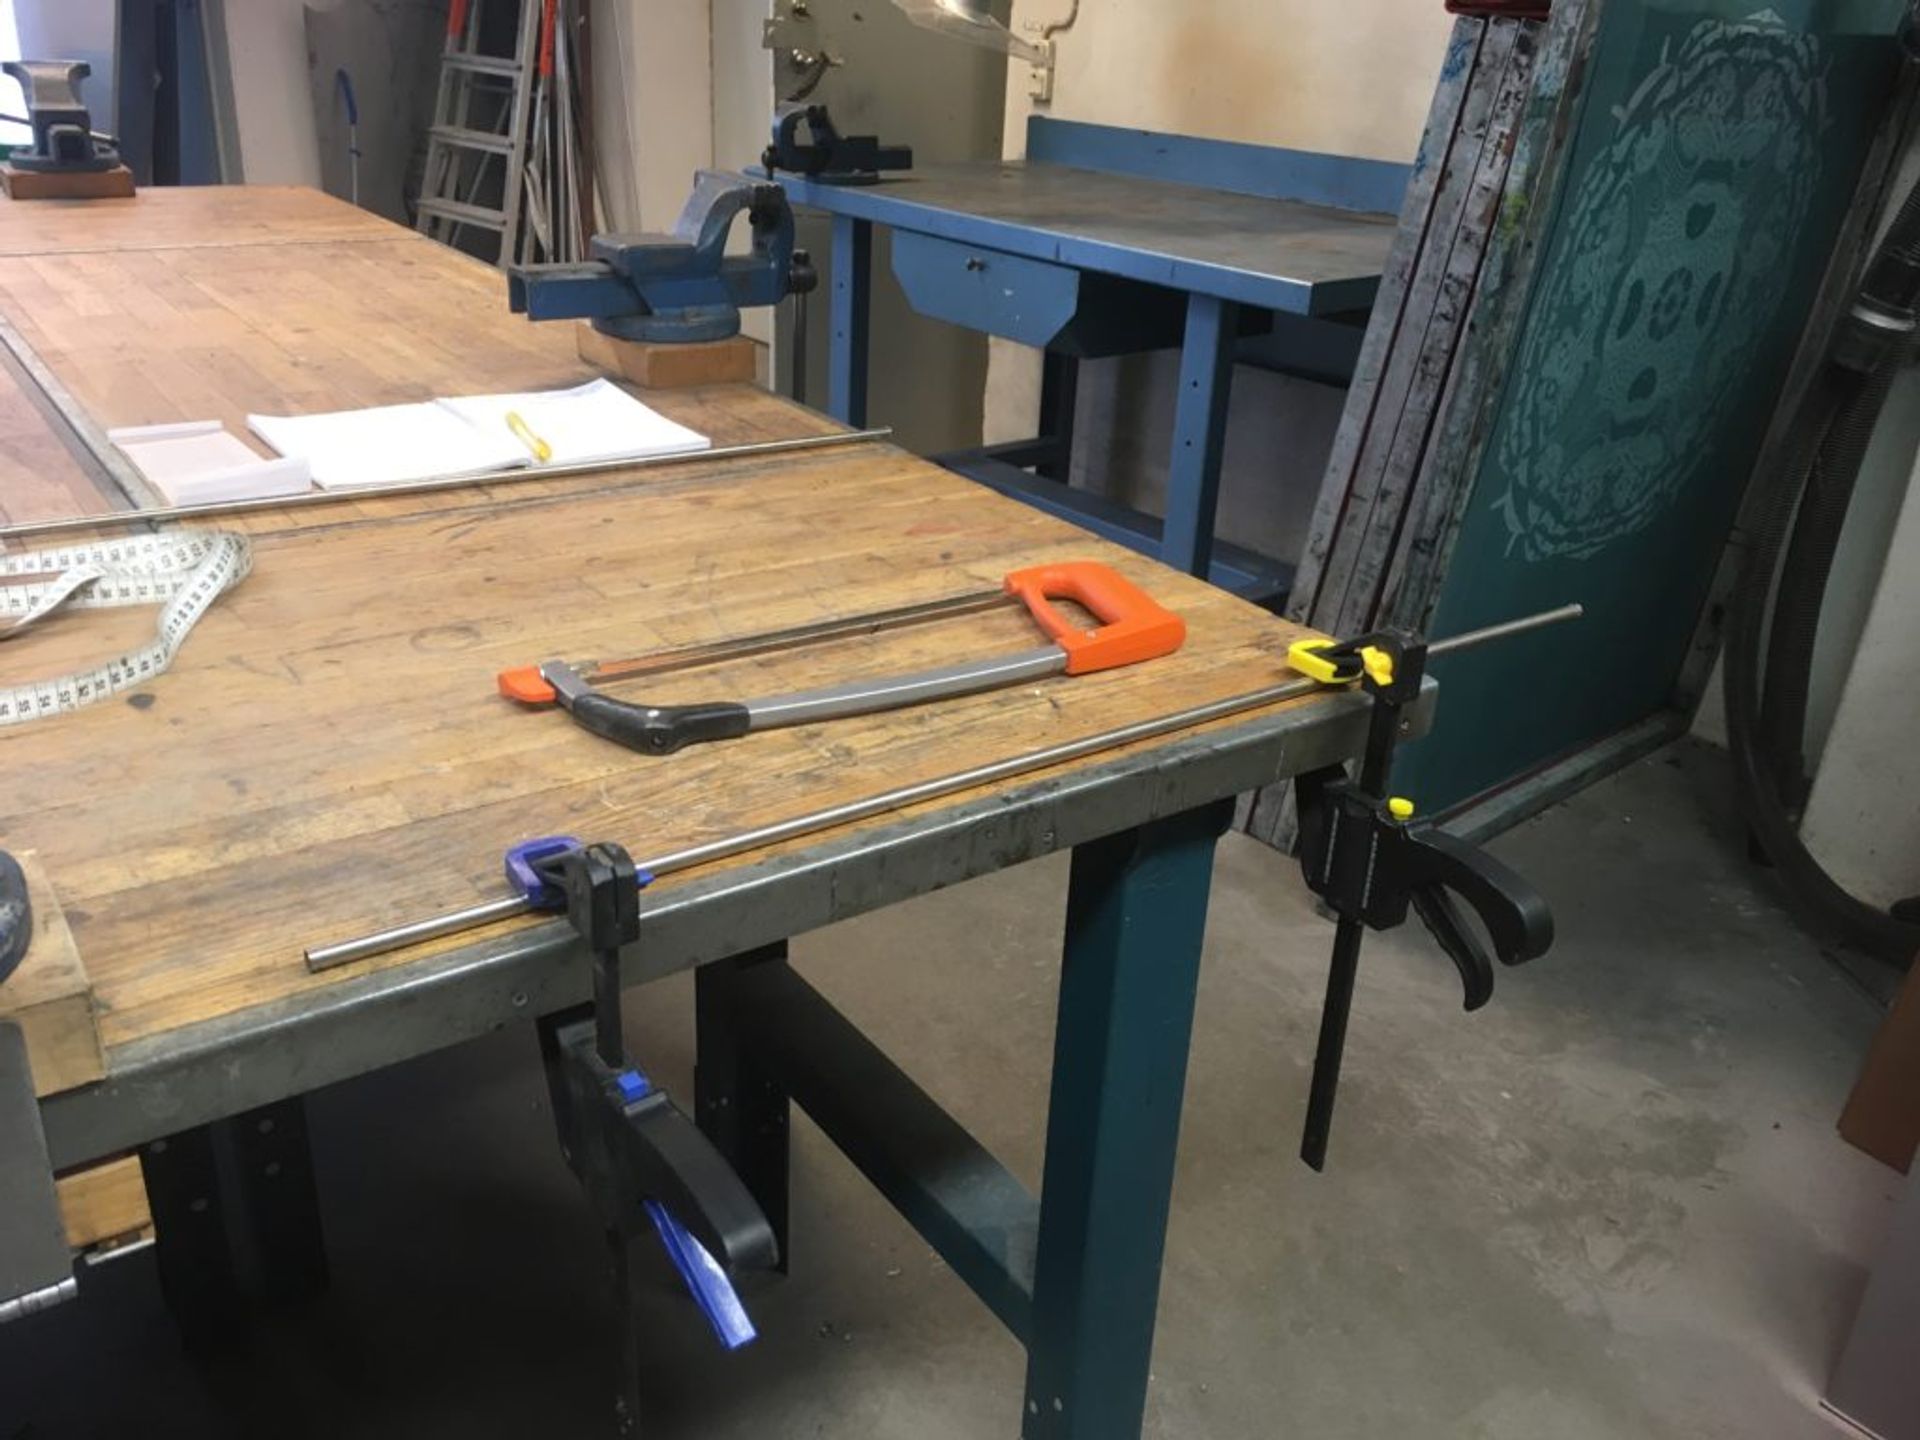
In the end, I decided on using very thin paper instead, hung like a scroll from a metal bar that I cut and filed in the school’s metal workshop.
Step Five: Promotion
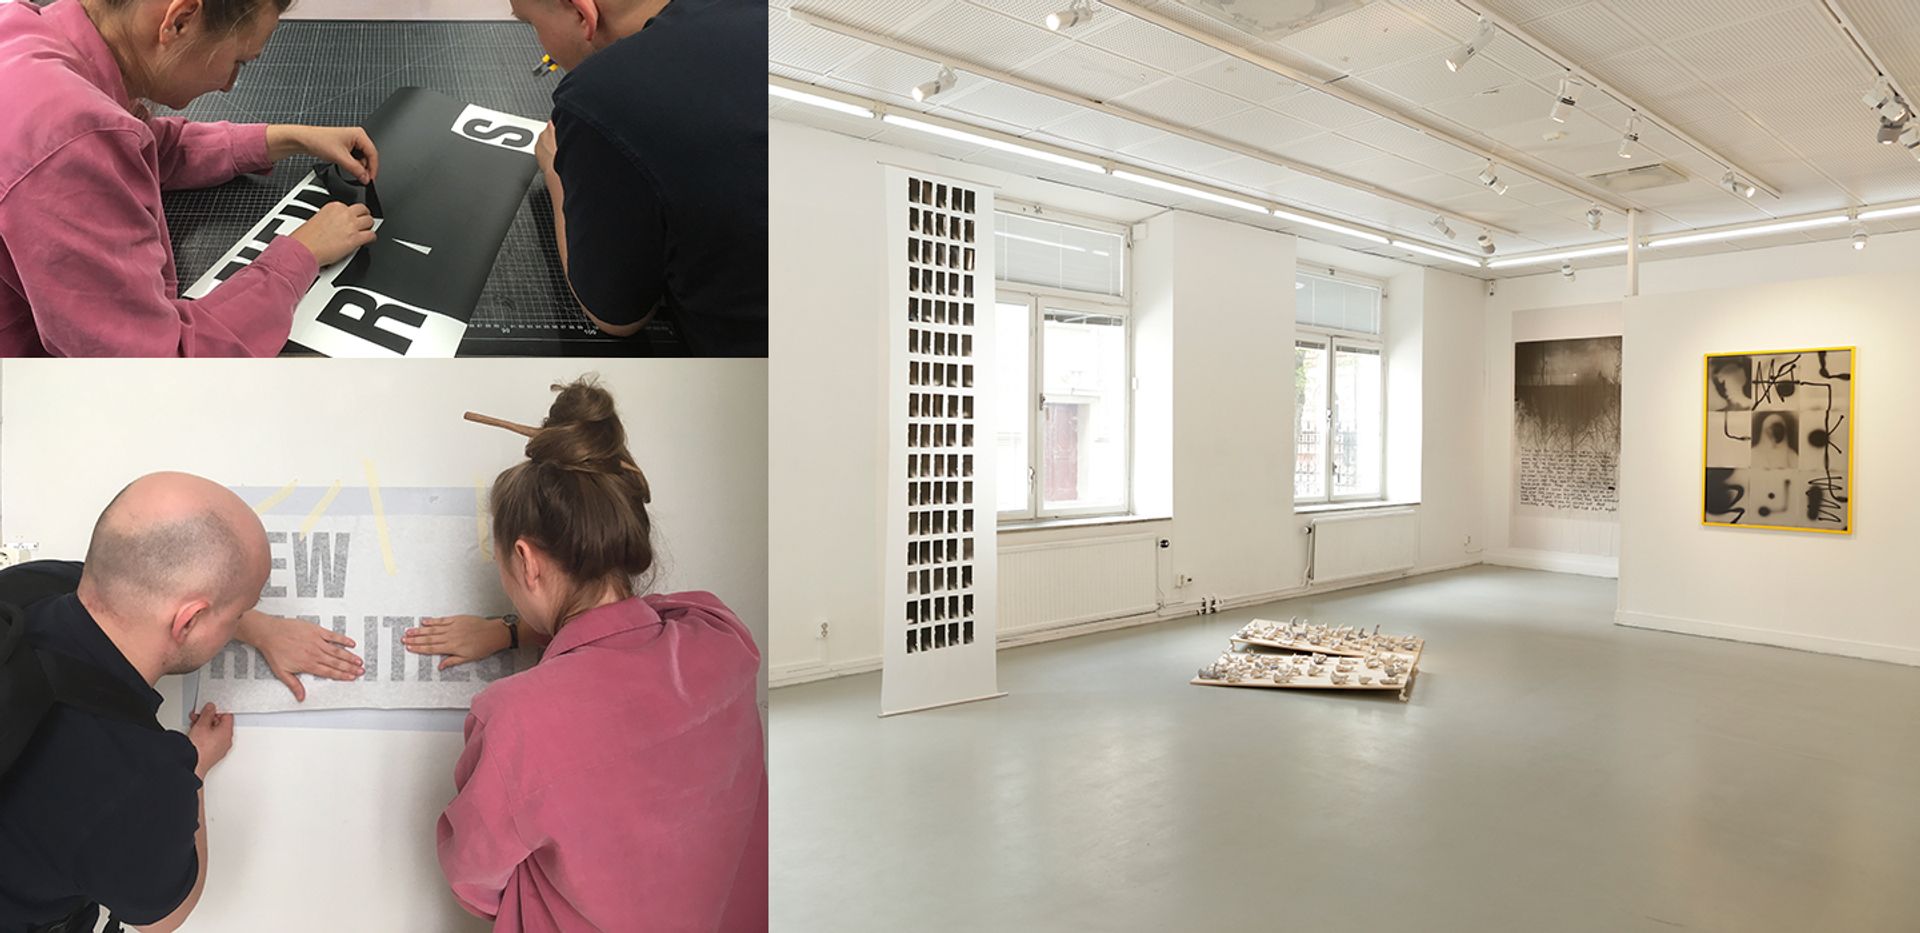
It’s no good putting in all the hard work to make an exhibition if no-one knows about it! Our dedicated promo team created a poster to hang around the school and outside, and promoted the exhibition through social media to make sure people turned up to see it!

Step Six: Cleaning the Gallery
We got access to the gallery two days before the show opened and there was a little bit of work to be done, including sweeping the floors and repainting the white walls, which were a bit dirty from a previous exhibition. Once that was done, we could start moving in our work.
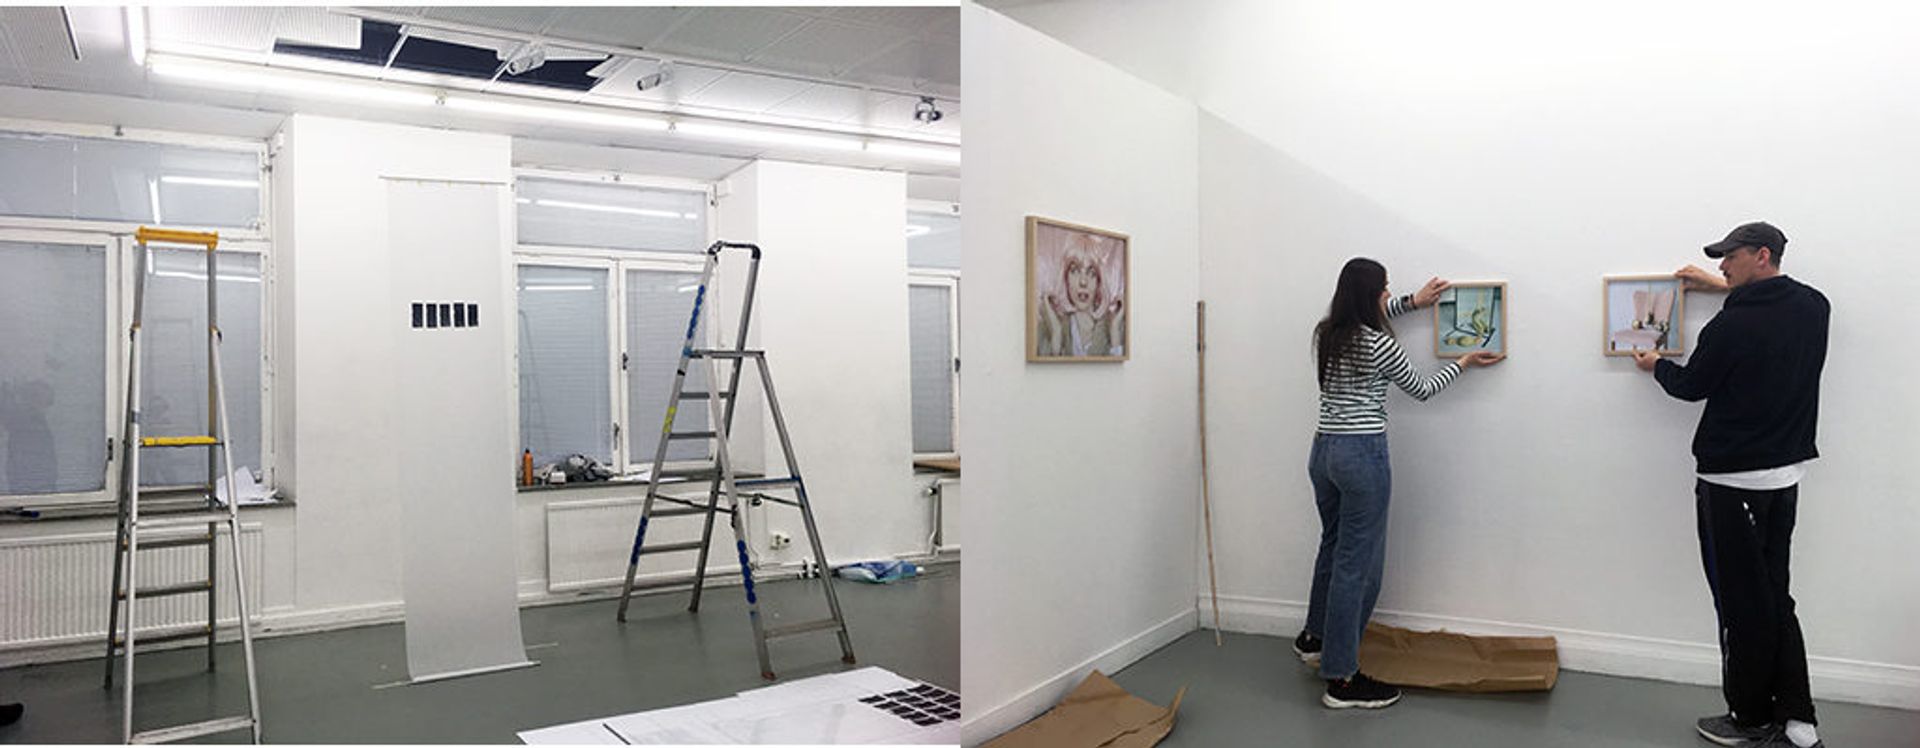
Step Seven: Finishing the work and Installing
The paper I was using to mount my photographs was very fragile, so I decided it would be best if I assembled my work in the gallery itself. This was a slightly backbreaking process of mounting the 80 small prints to the paper, but I knew the end result would be worth it. Once the paint on the walls was dry, we could finally start installing the works and setting up the lighting.
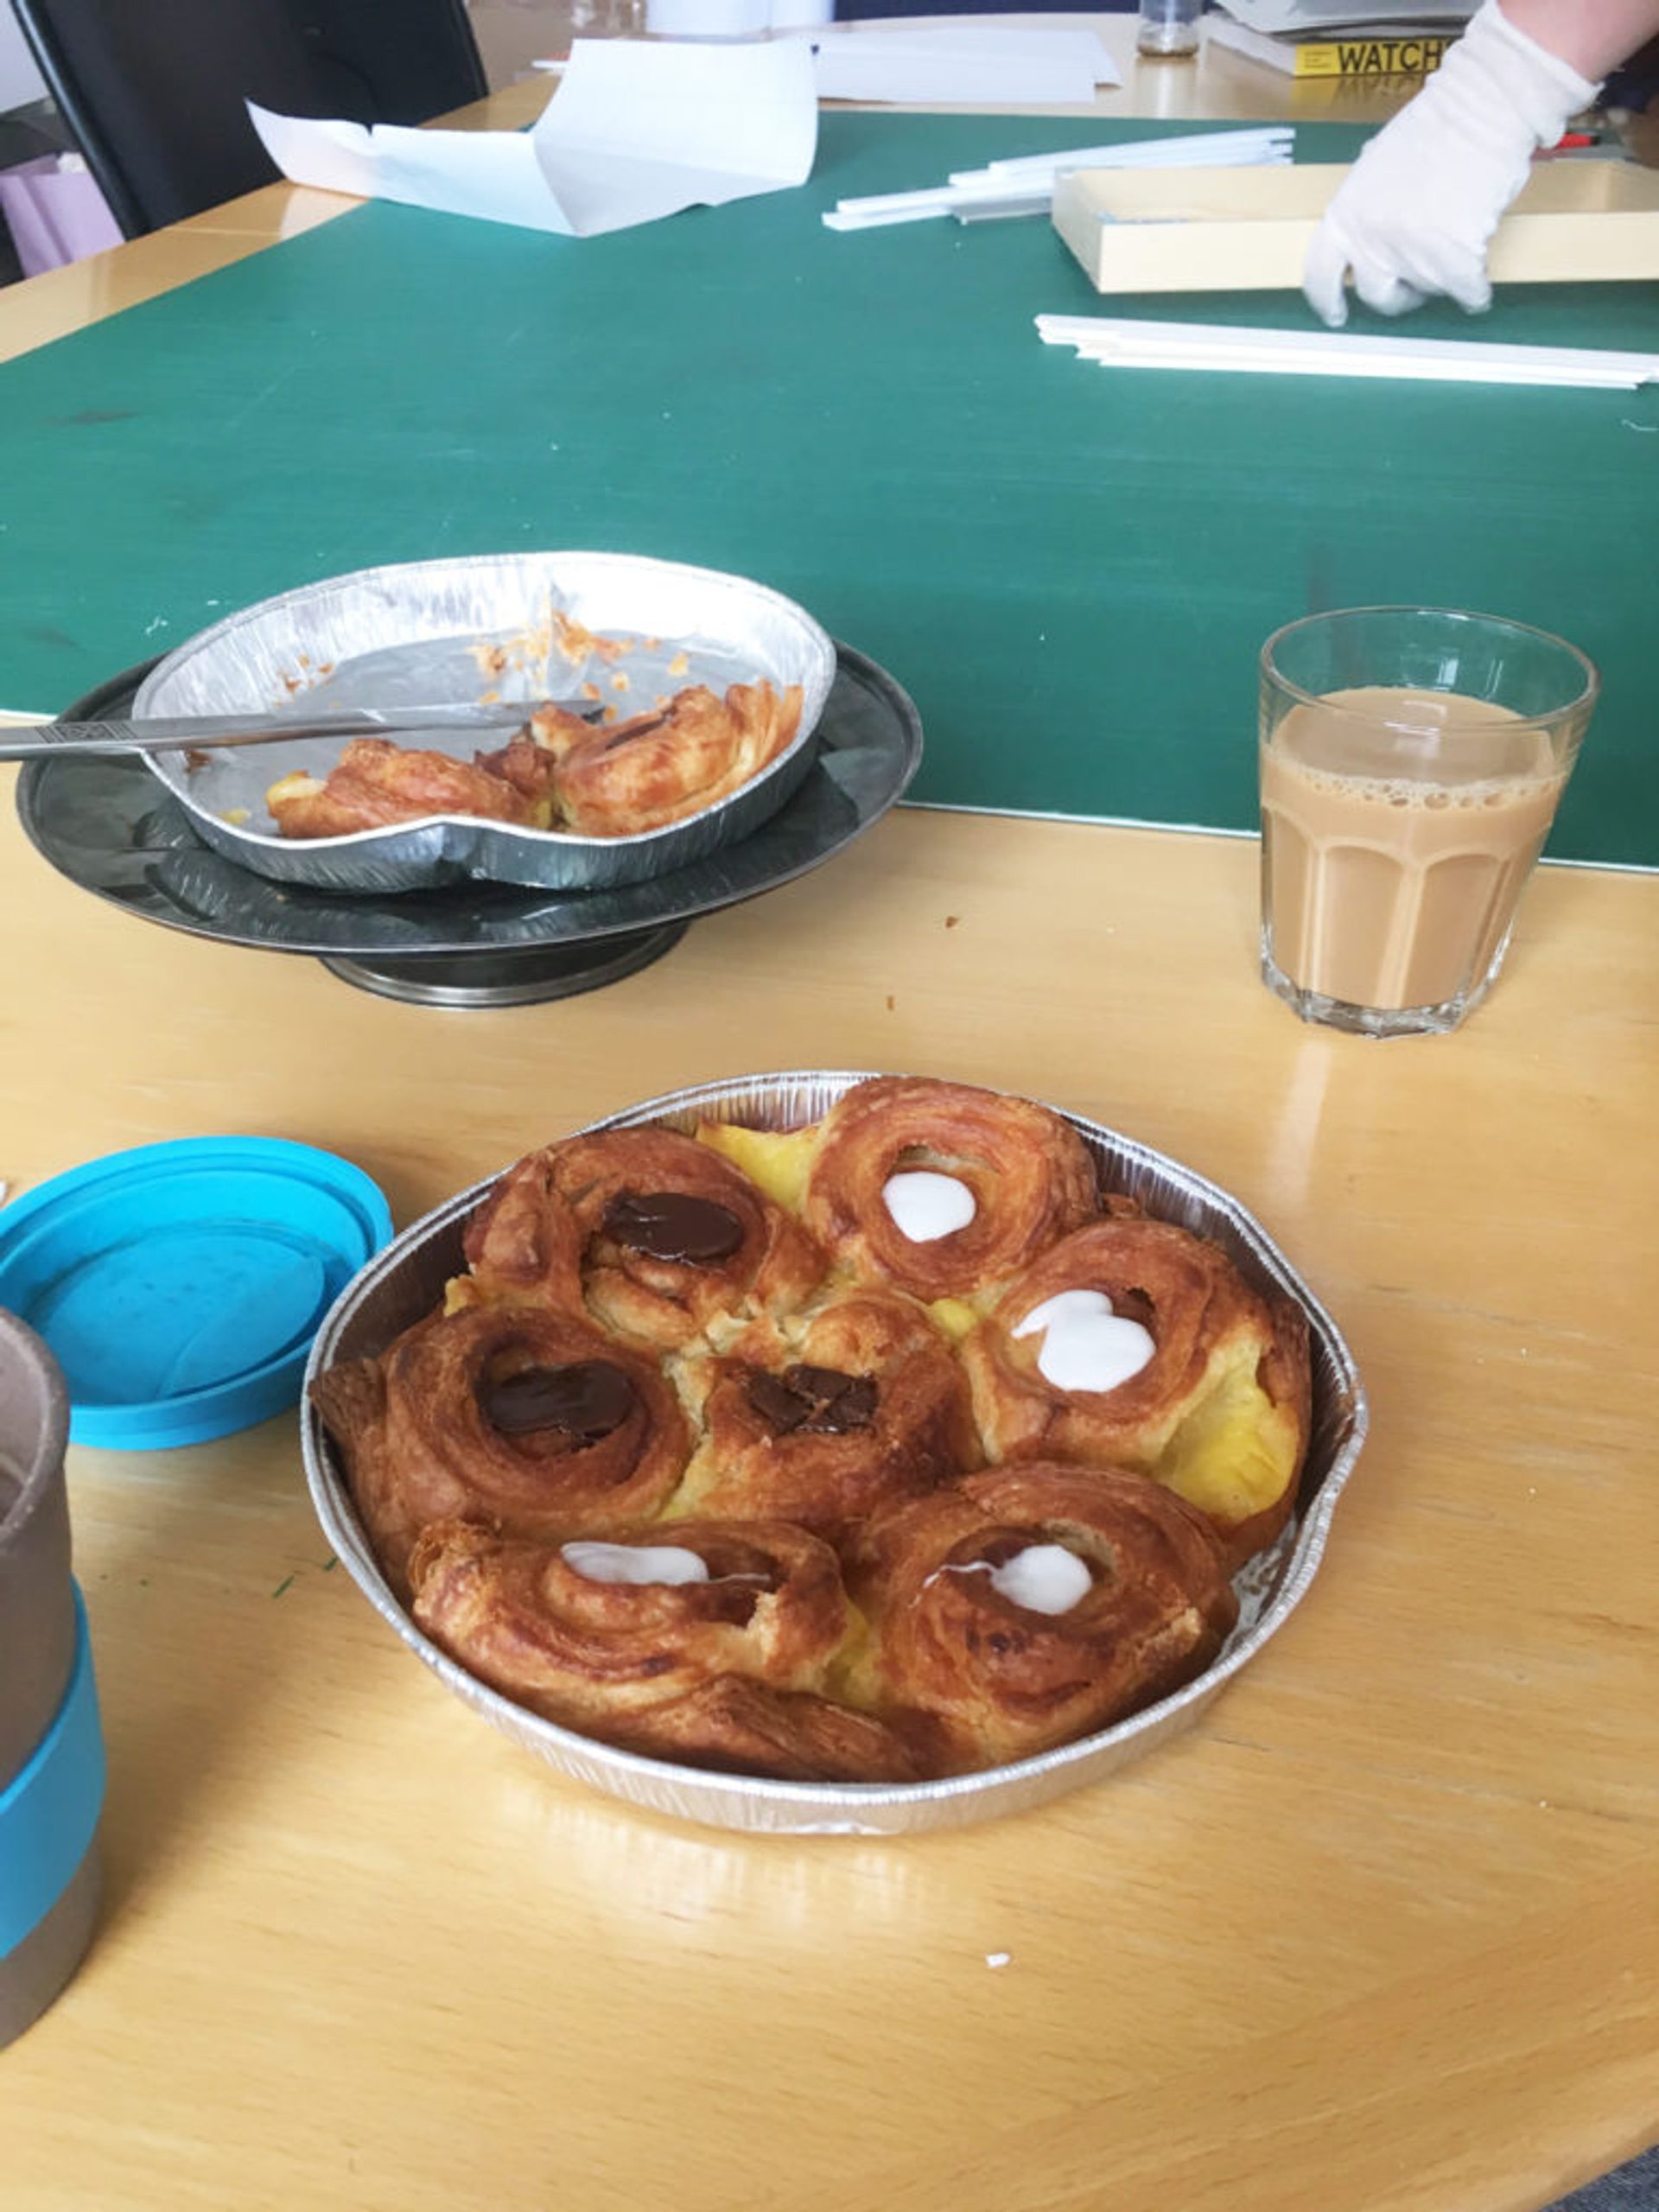
Step Eight: Fika break!
What is integral to putting together any art exhibition? Regular fika breaks!
Step Nine: Finishing Touches
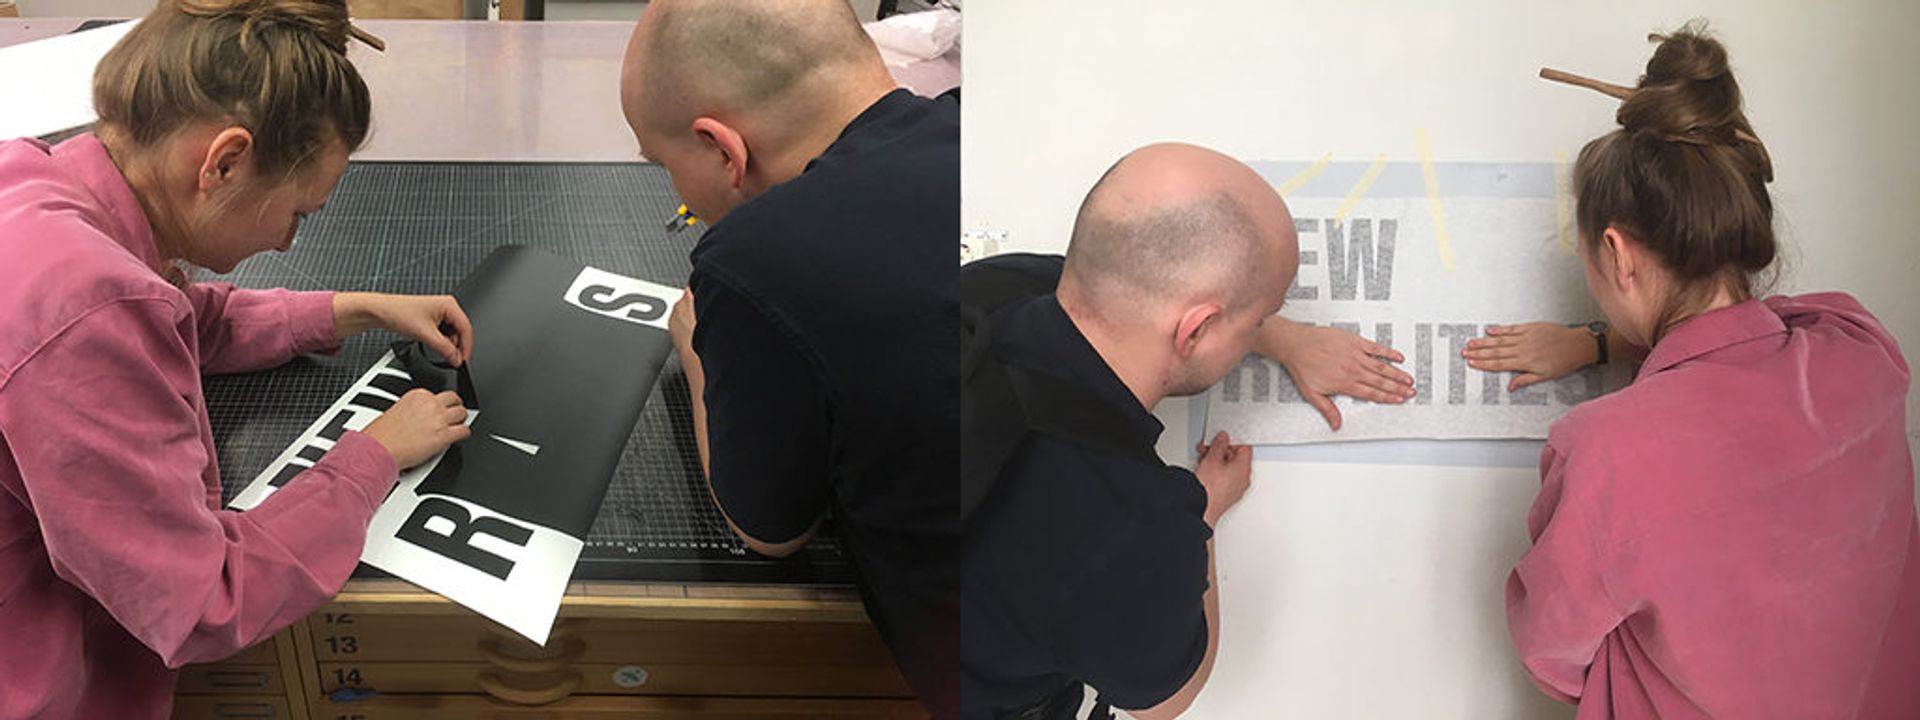
Once the work was installed, it was time to add the finishing touches to the exhibition, printing a vinyl sticker of the show’s title and applying it outside the gallery for all to see. Then, we cleared all the work tools and ladders out of the gallery before giving the floor another quick clean. At last, with the drinks and snacks table all set up, we were ready to go!
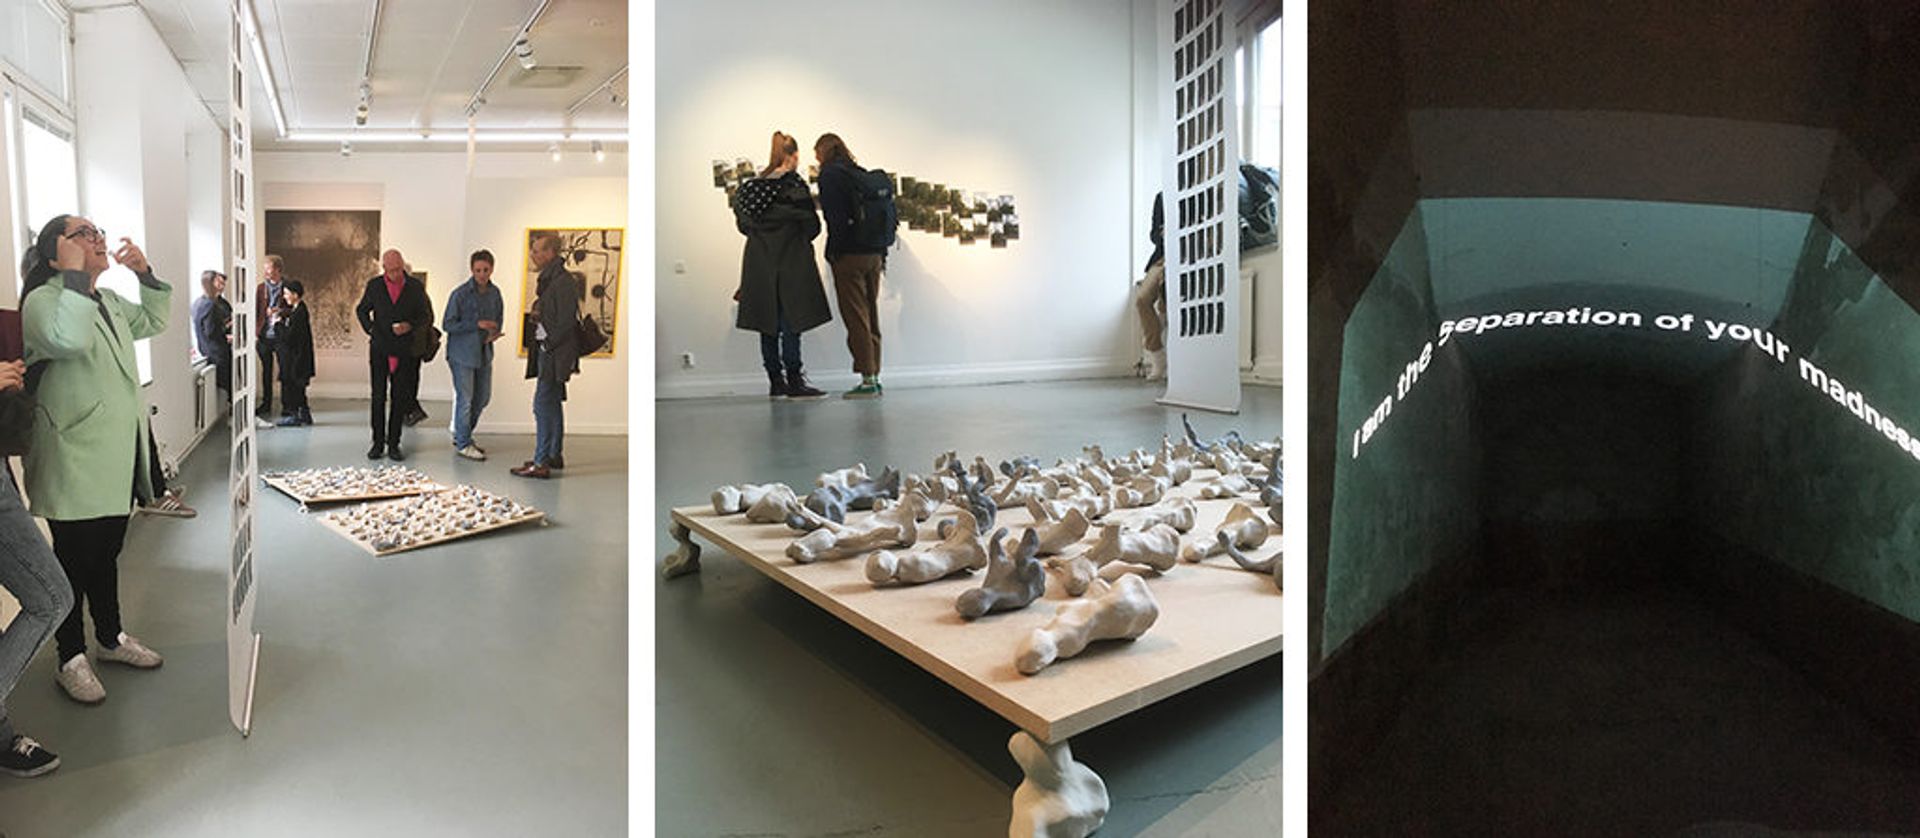
Step Ten: OPEN!
Time for the vernissage! Finally, after all our hard work, we were ready to open the doors for friends, family and fellow students. I was really proud of myself and all my classmates for putting together our first exhibition as a group, in preparation for our final exam exhibition next year!
If you want to study art in Sweden, take a look at programmes offered by these universities:
Konstfack University College of Arts, Crafts and Design ↗️
Malmö Art Academy ↗️
Royal Institute of Art ↗️
Umeå Academy of Fine Arts ↗️
University of Gothenburg, Valand Academy ↗️
To search for creative programmes in Sweden, go to universityadmissions.se ↗️