
Written by Nozinhle
12 Feb 2022


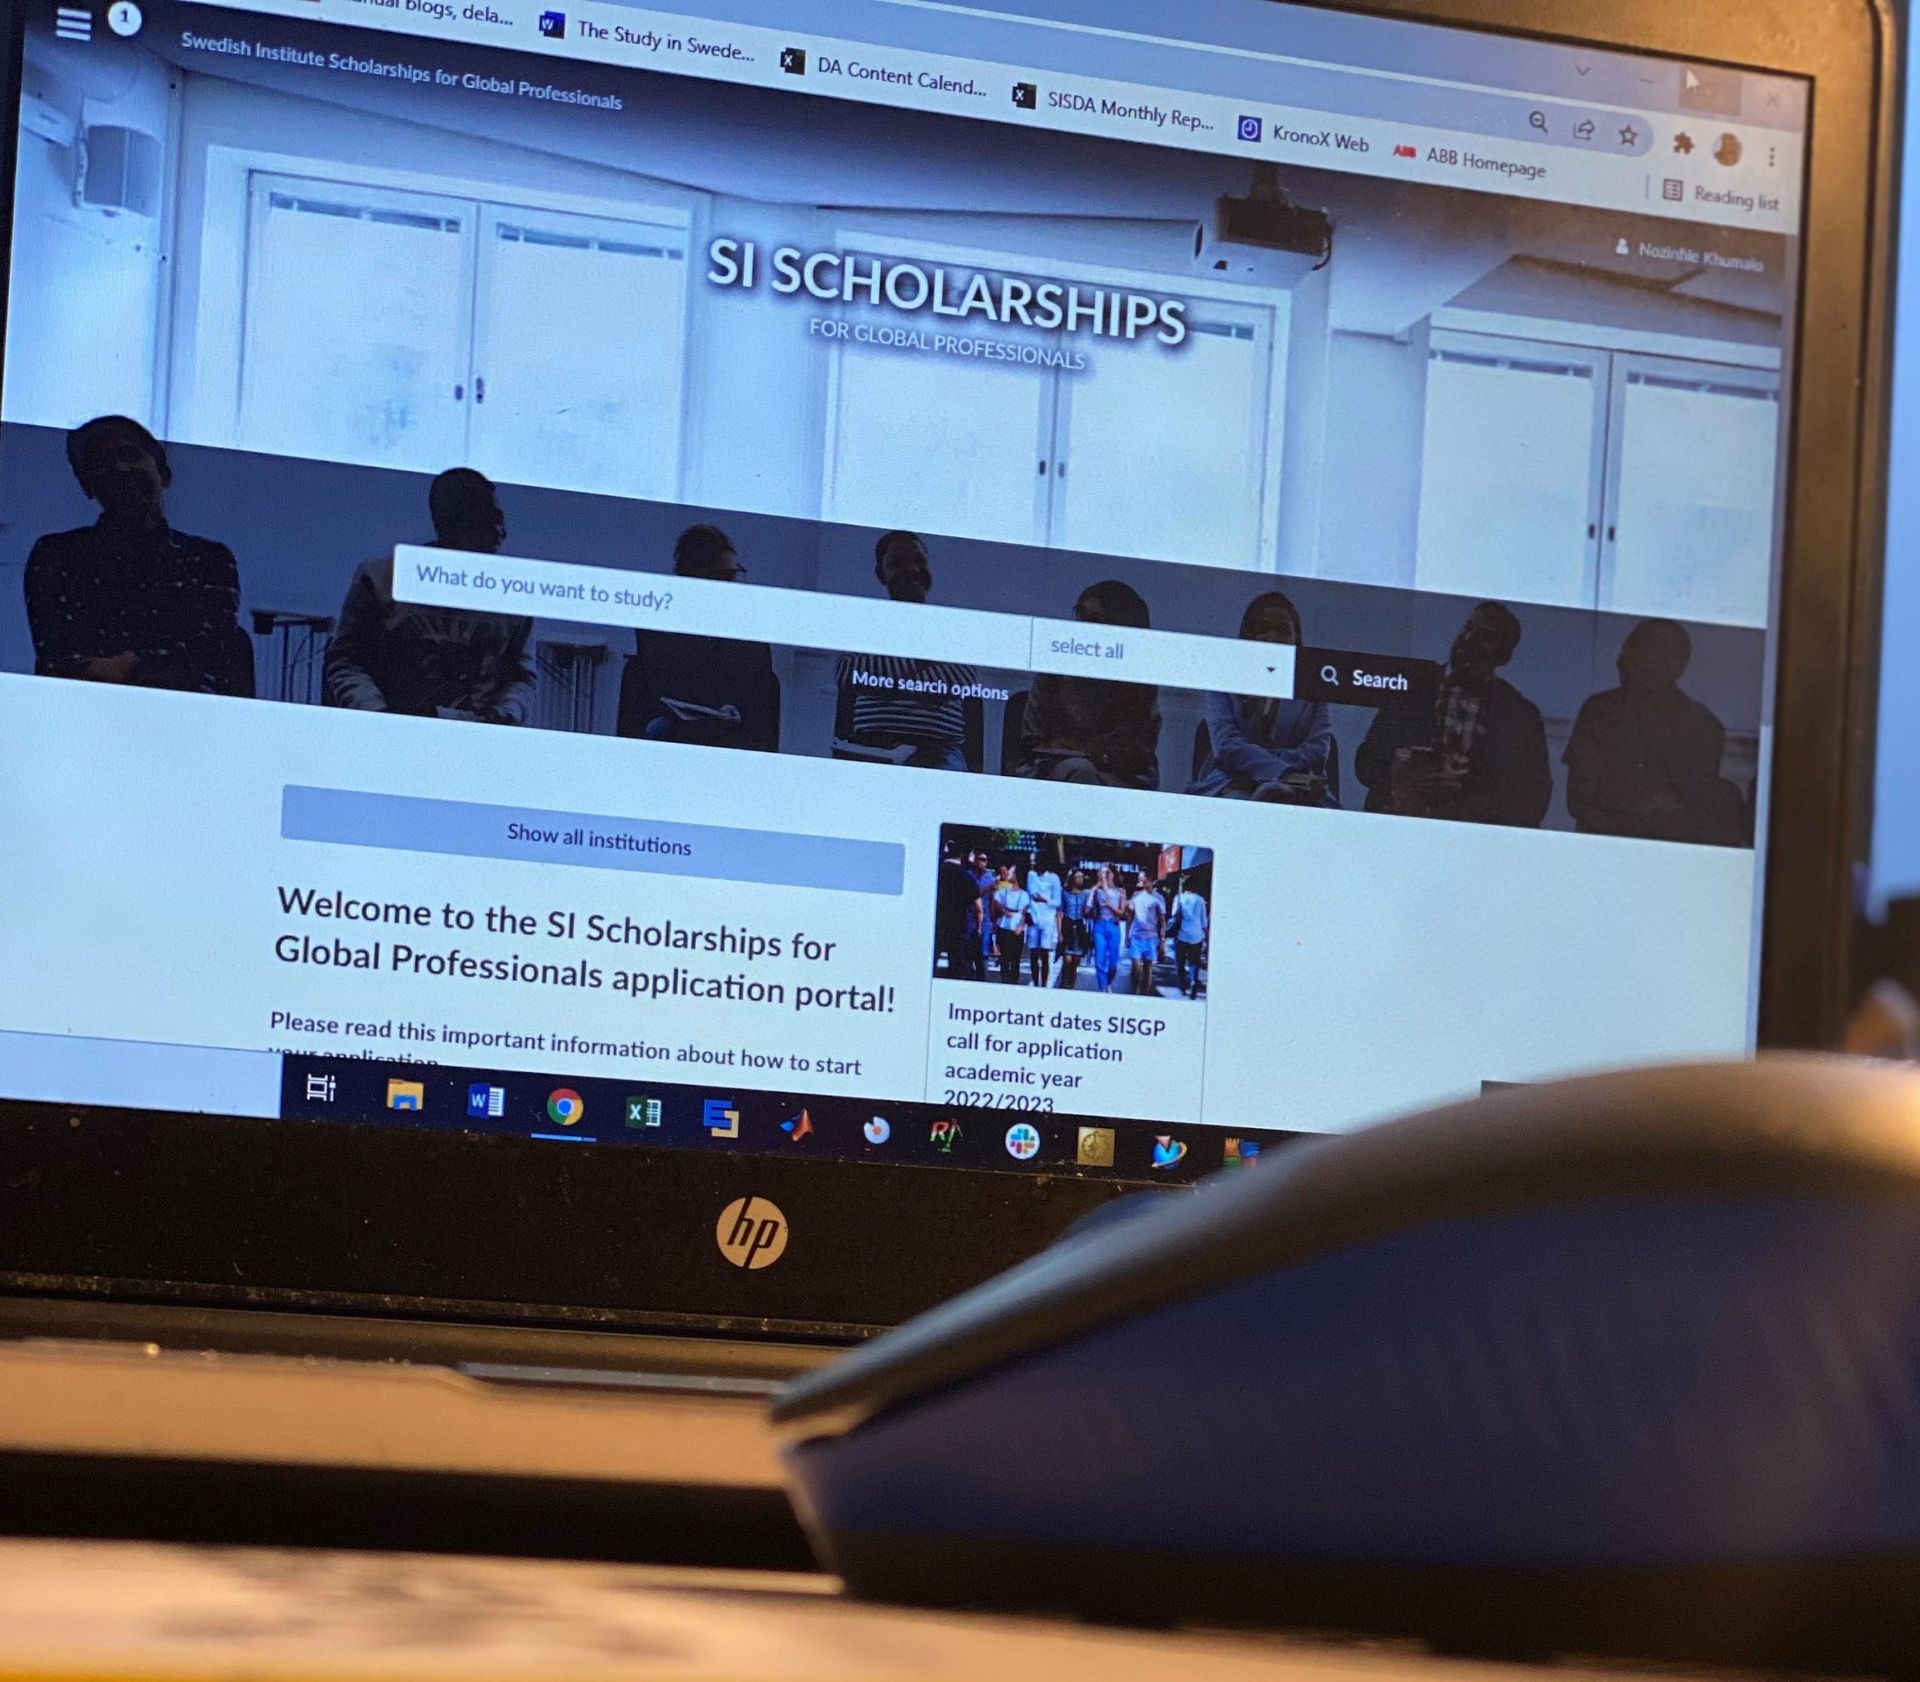
Here is a walkthrough of the new SI scholarship application portal, with some tips to make sure you submit your application correctly and not make a mistake that might get your application disqualified.
1. Complete the eligibility check
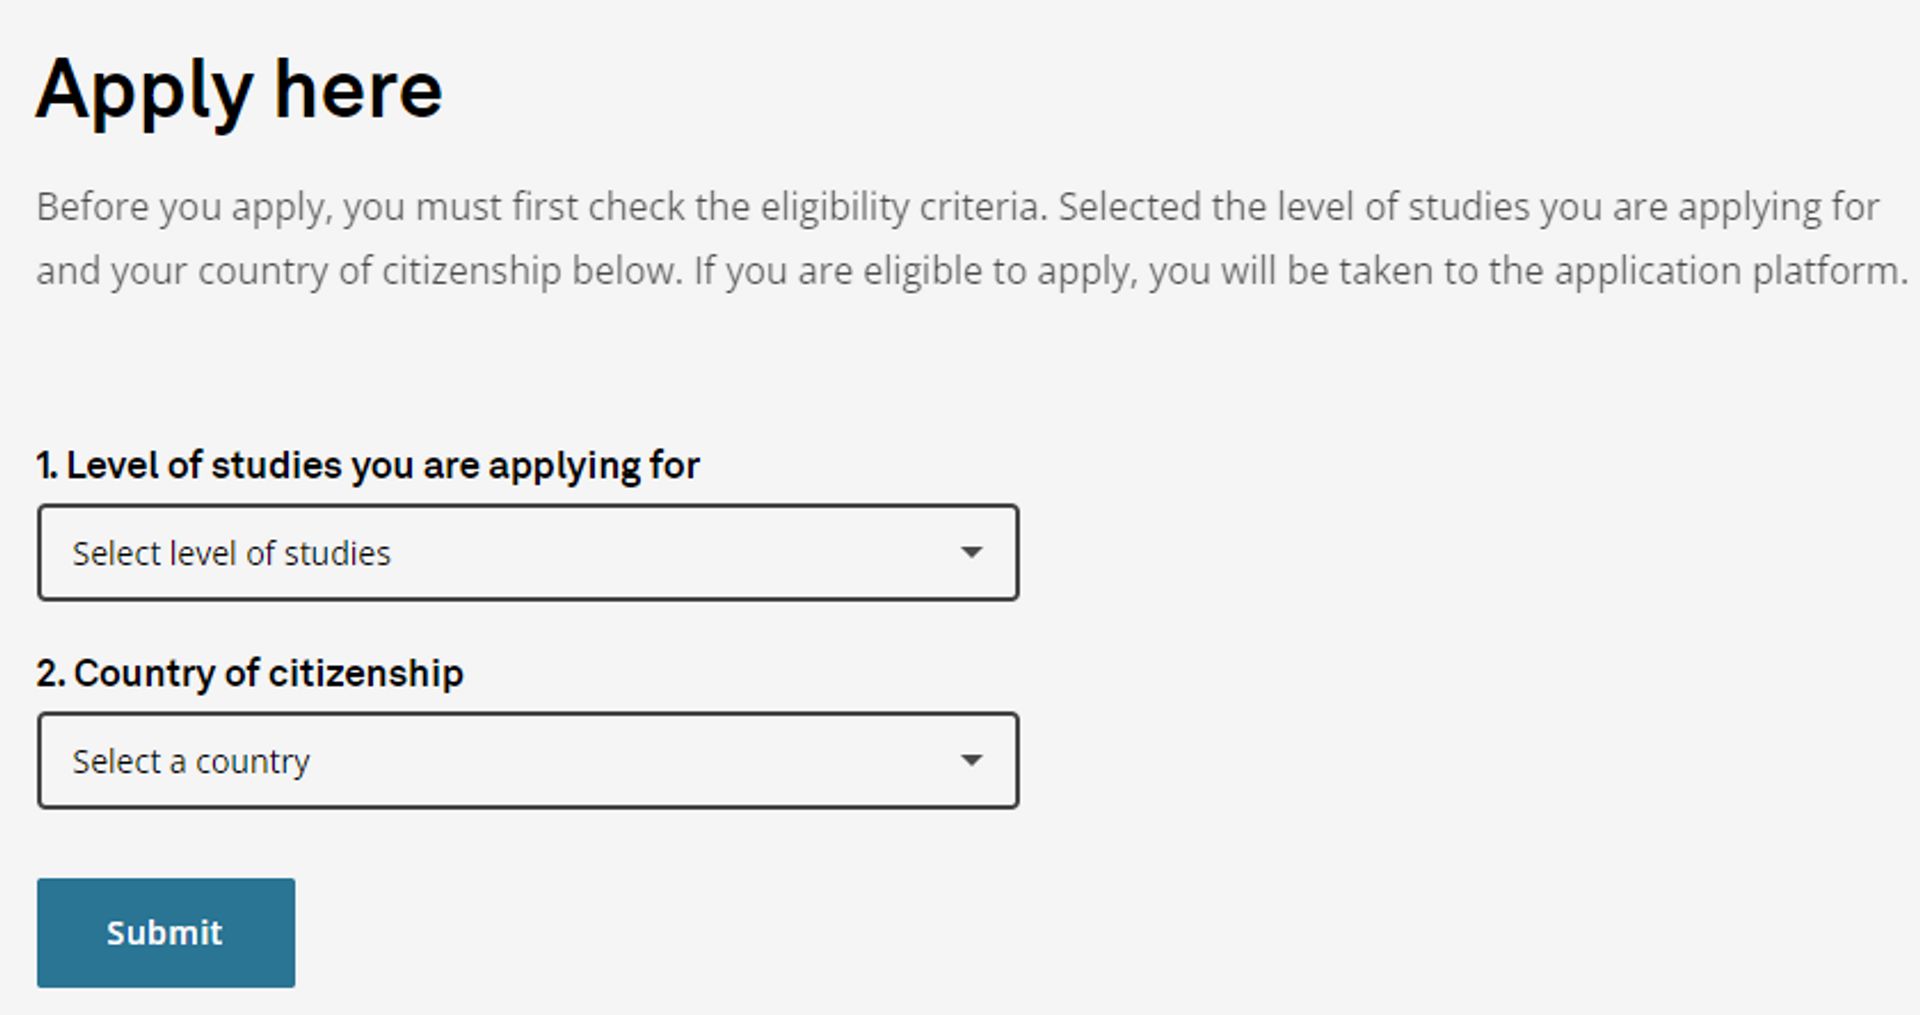
Before you can create an account for your SI scholarship application, you have to first pass the eligibility check. The SI scholarship is for Master’s studies and also, only people from specified countries can apply for the scholarship. By completing the eligibility check, you confirm that you are from one of the specified countries and intend to study for a degree at Master’s level. After passing the eligibility check, you will then be redirected to the full application.
Tip: If your country is not eligible for the SI scholarship, check out some other scholarships that you can apply to for funding your studies in Sweden.
2. Create an account
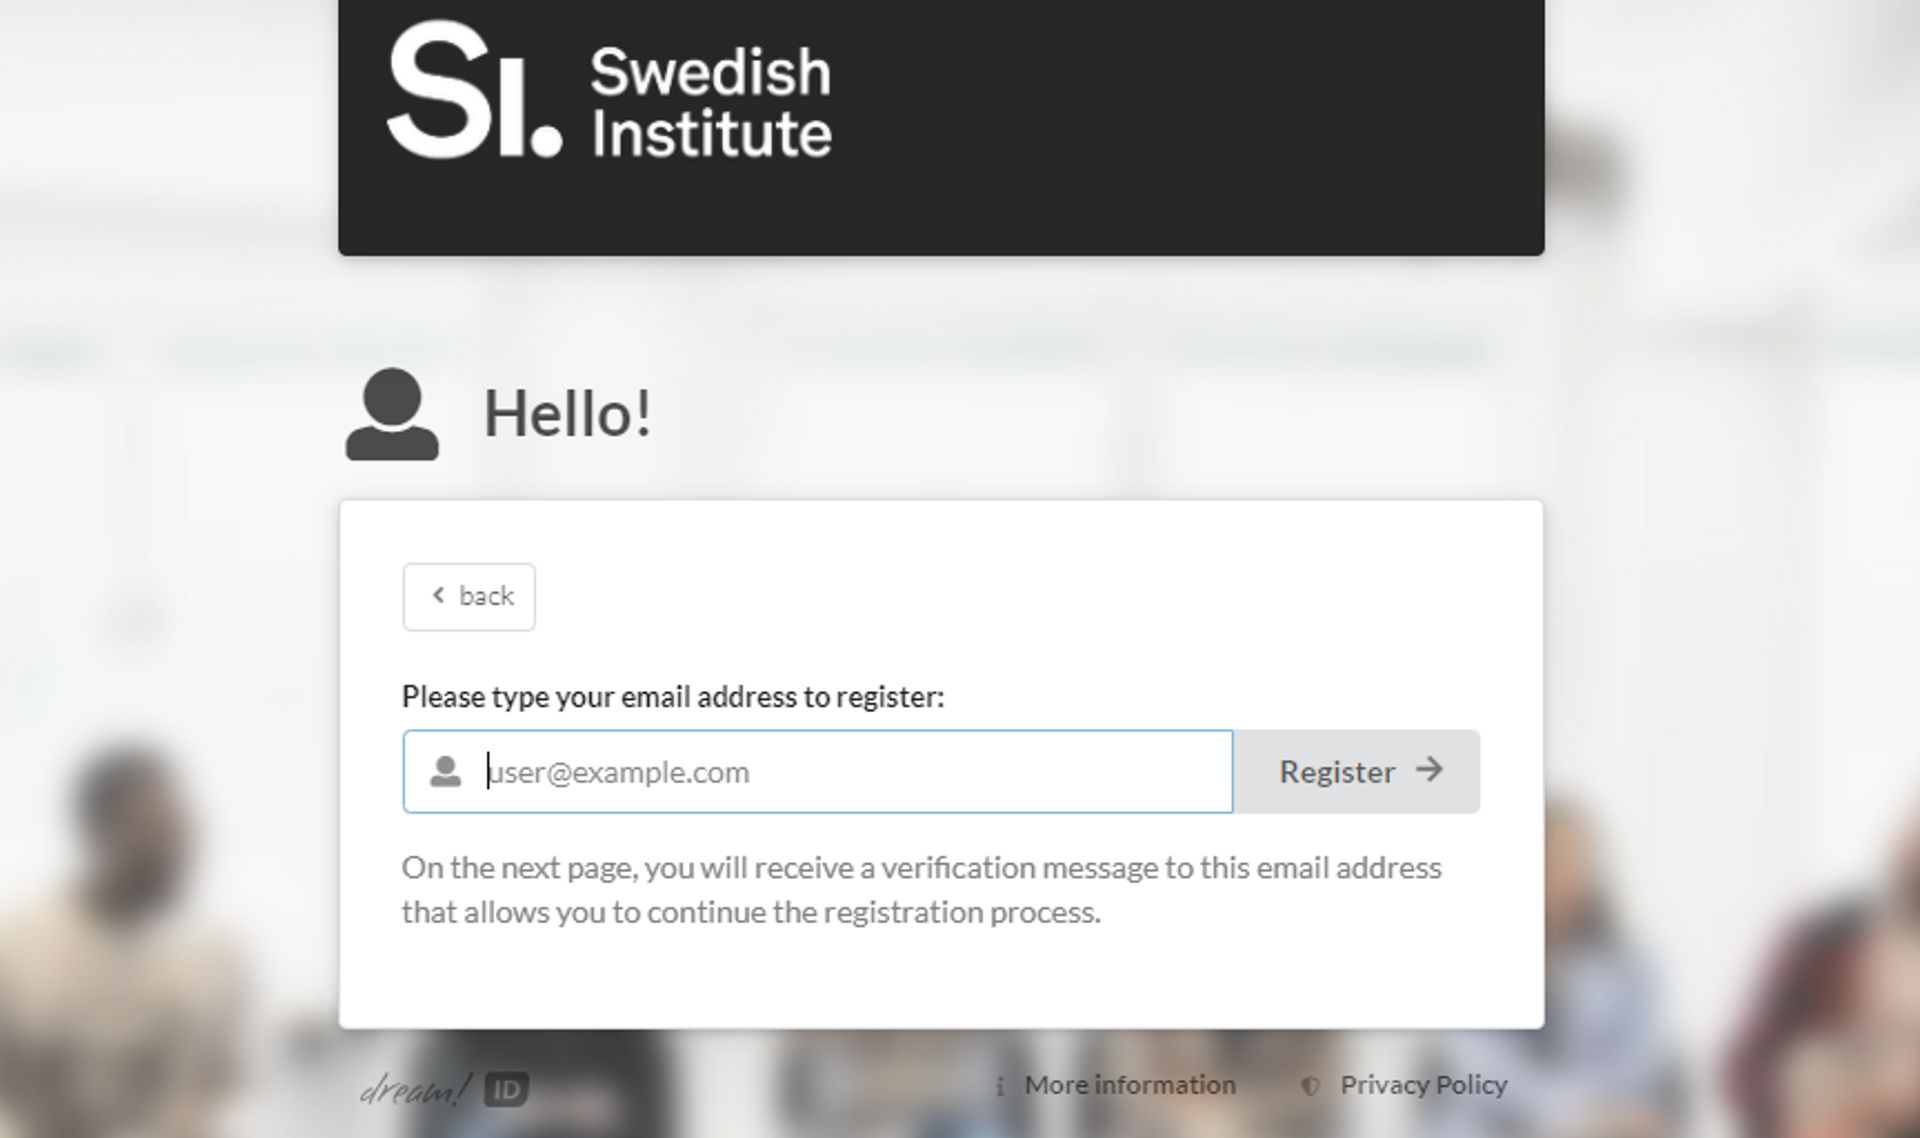
On the start page of the new SI scholarship application portal, you can create an account using your email address. Thereafter, you will receive a log-in link in your email which you need to click on to access your SI application account. After logging into your account, you will have different sections where you can add your information.
Tip: If you receive a reference code when creating your account, you can add it when you log into the account the first time or by clicking on the top right-hand corner where your name is, selecting “My Profile” and scrolling down to the “Reference Code” section. Reference codes are sometimes used to organize applicants but are not required and will not in any way affect the outcome of your application
3. Add Masters courses
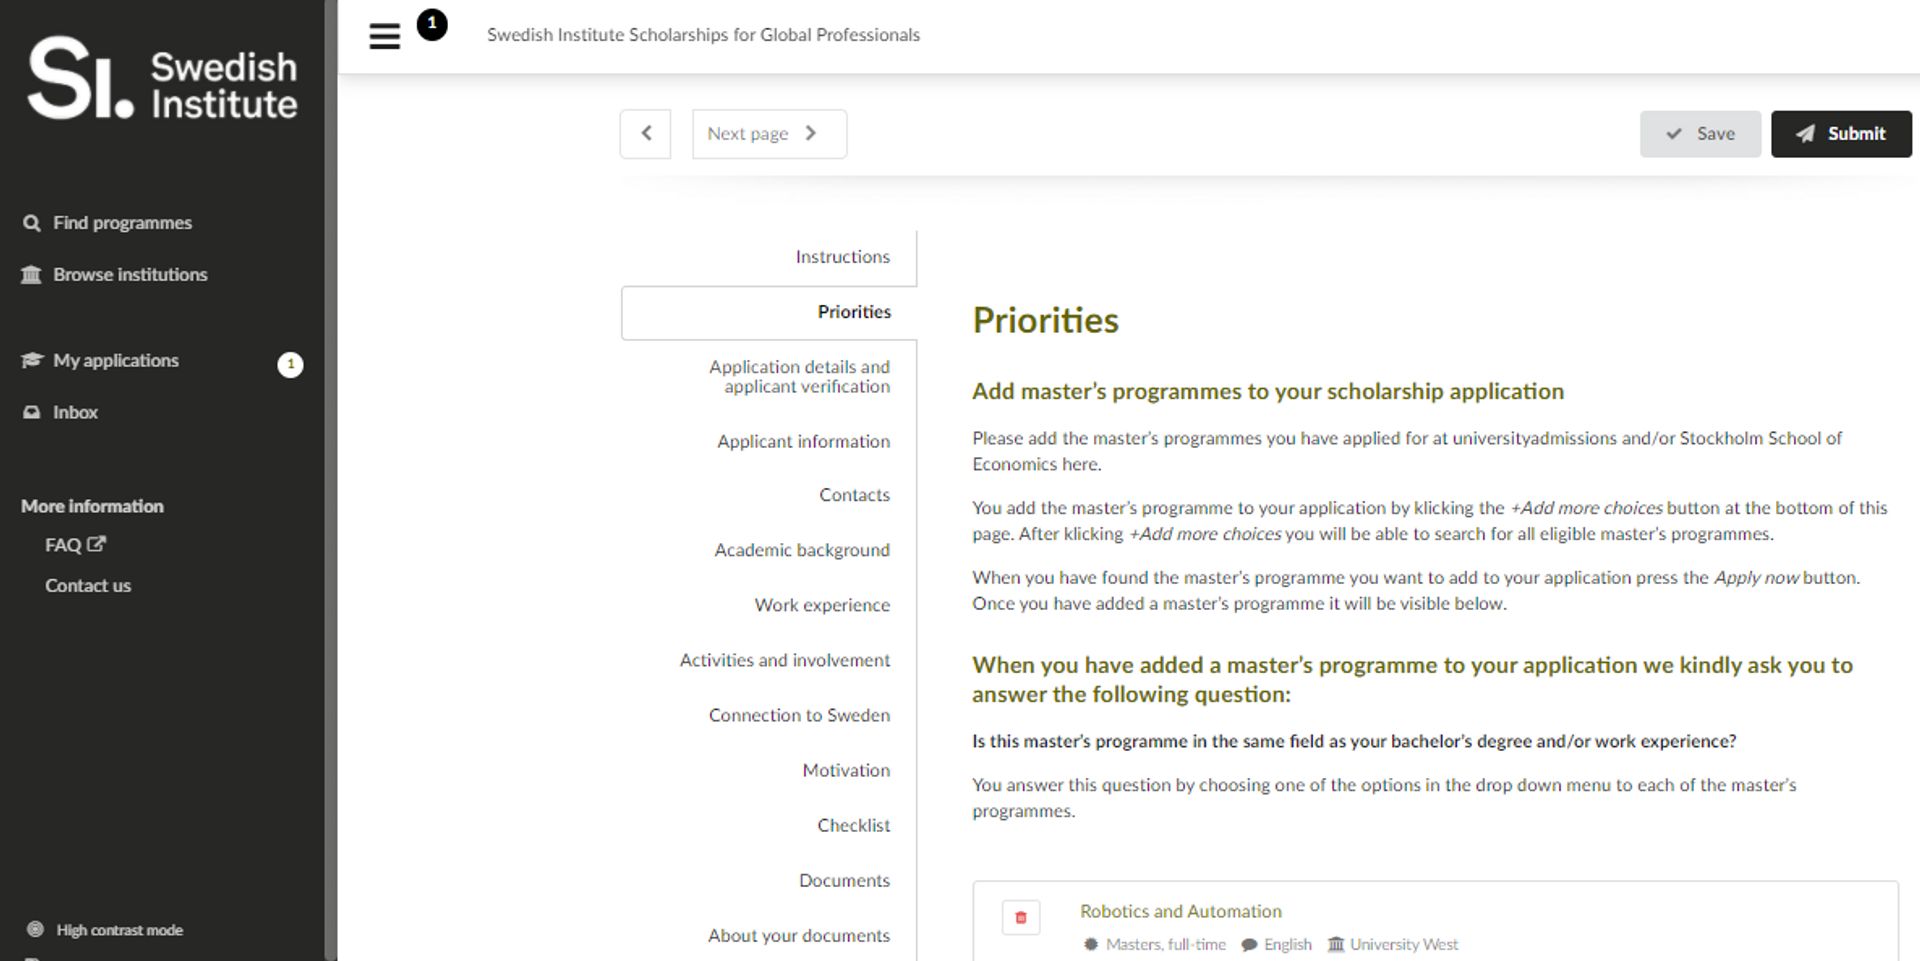
In the “Priorities” section, you can add the Master’s programmes that you applied to. If you cannot find your programme, then it might not be part of the list of eligible programmes for this application round. You need to make sure you add all the programmes that you applied for that are eligible for the SI scholarship. To add programmes you can do so using the following options:
1. Using the search function on the home page: “What do you want to study?”
2. Navigating to the bottom of the “Priorities” page and clicking on “Add more choices”.
3. Scrolling on the left-hand side of the application page and clicking on “Find programmes”
Tip: After selecting your programmes, do not forget to scroll down to each programme chosen and use the drop-down menu to select the relevant connection between the programme and your previous studies and work experience.
4. Add application information
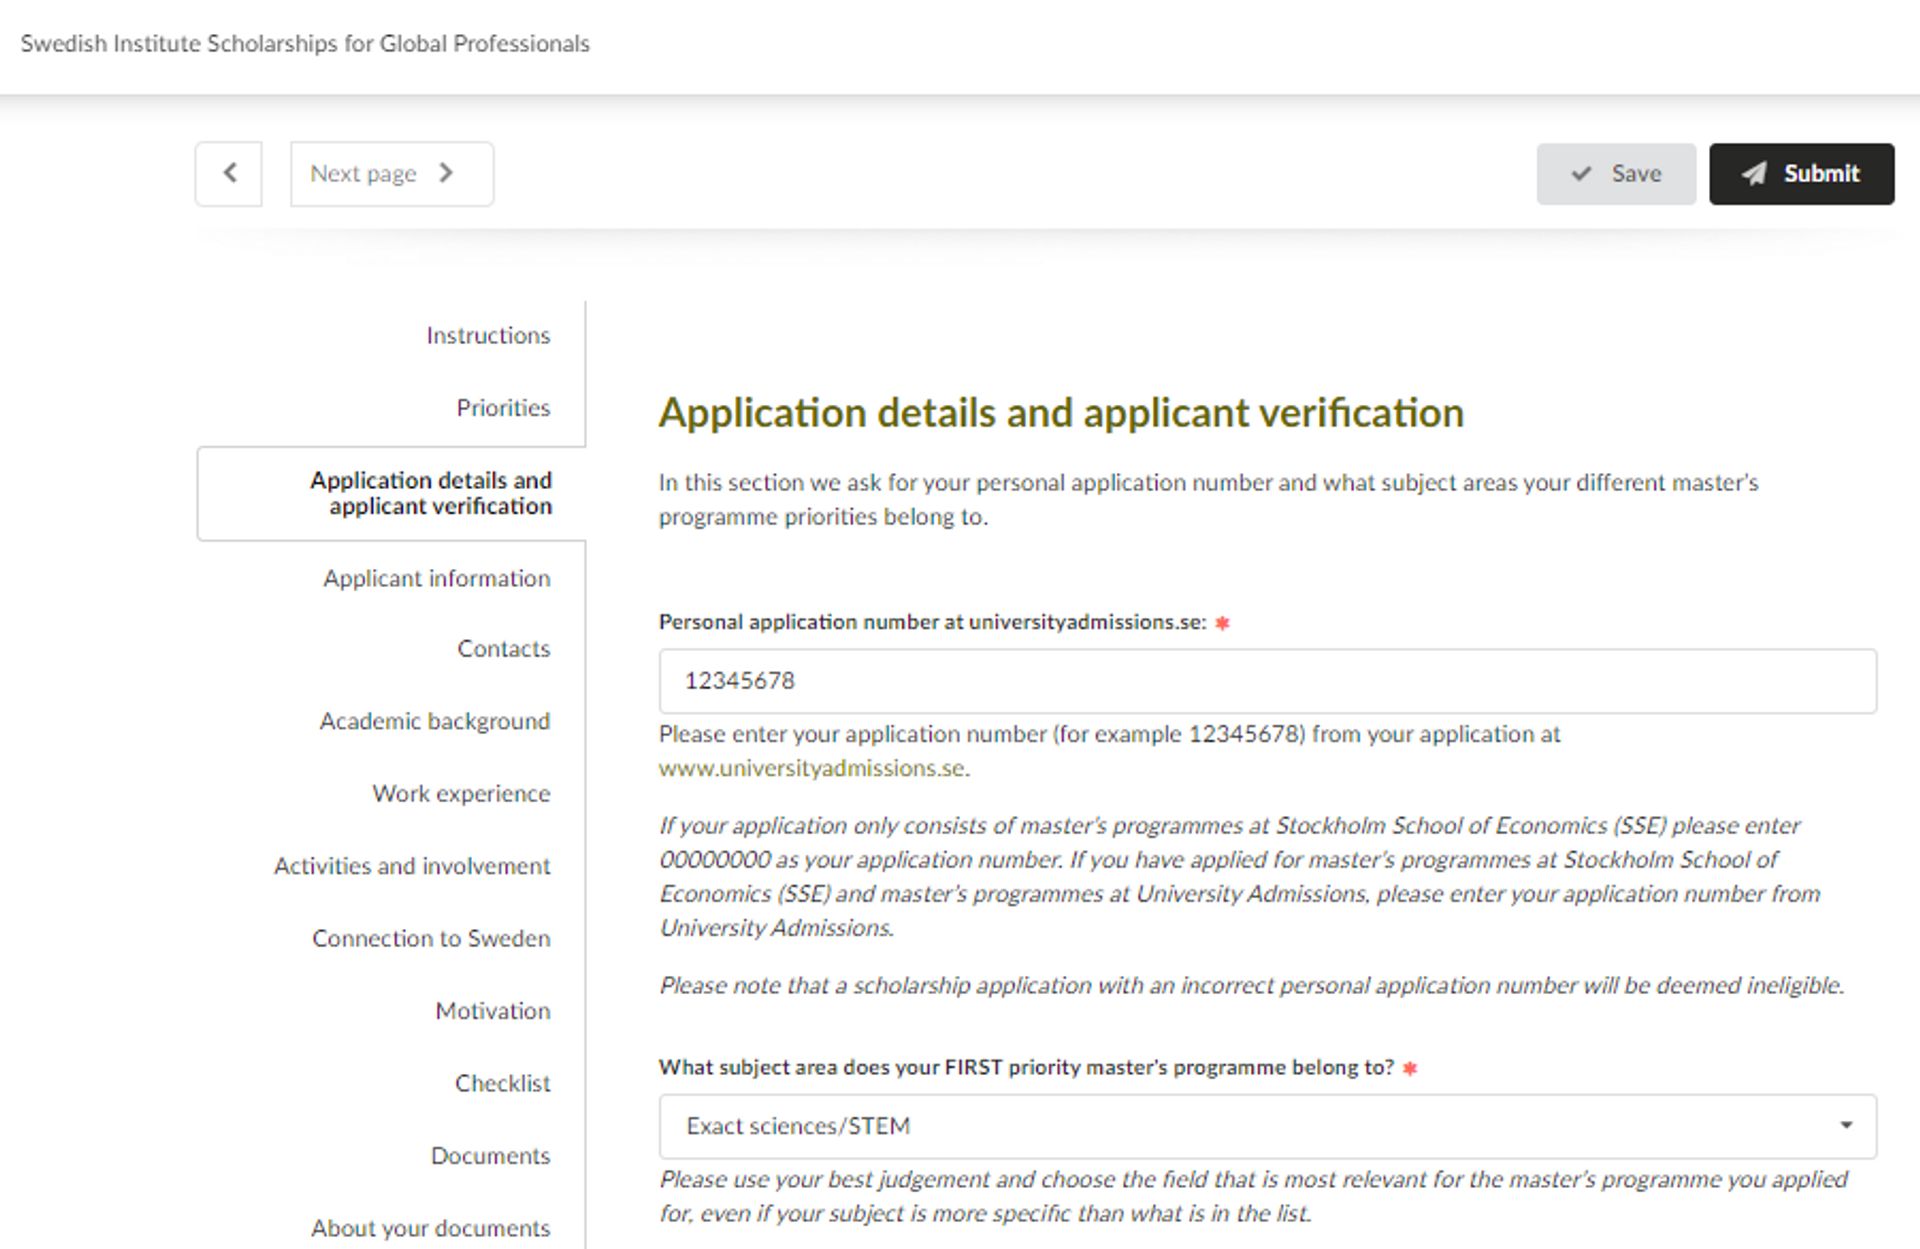
In the following tabs, you need to complete your information as required: “Application details and applicant verification”, “Applicant information”, “Contacts”, “Academic background”, “Work experience”, “Activities and involvement”, and “Connection to Sweden”.
Tip: Always double-check the information you enter (especially numbers) to ensure that you did not make any errors. Writing 300 instead of 3000 work hours may give the impression that you do not meet the minimum requirements for work experience, which may be detrimental to your application.
5. Motivation
The new SI scholarship application portal has a section for applicants to write about their motivation. The motivation question requires that you compile a concise response explaining how you can apply the knowledge and experience you will gain from your time in Sweden in your organisation/company and/or in your home country/region. Your response should be 1000 characters or less. You cannot submit your application if the motivation response exceeds 1000 characters.
Tip: Draft your motivation in a separate document. Then take time to re-read and refine it. Finally, when you are happy with the response, transfer the text to the application portal.
6. Attach Documents
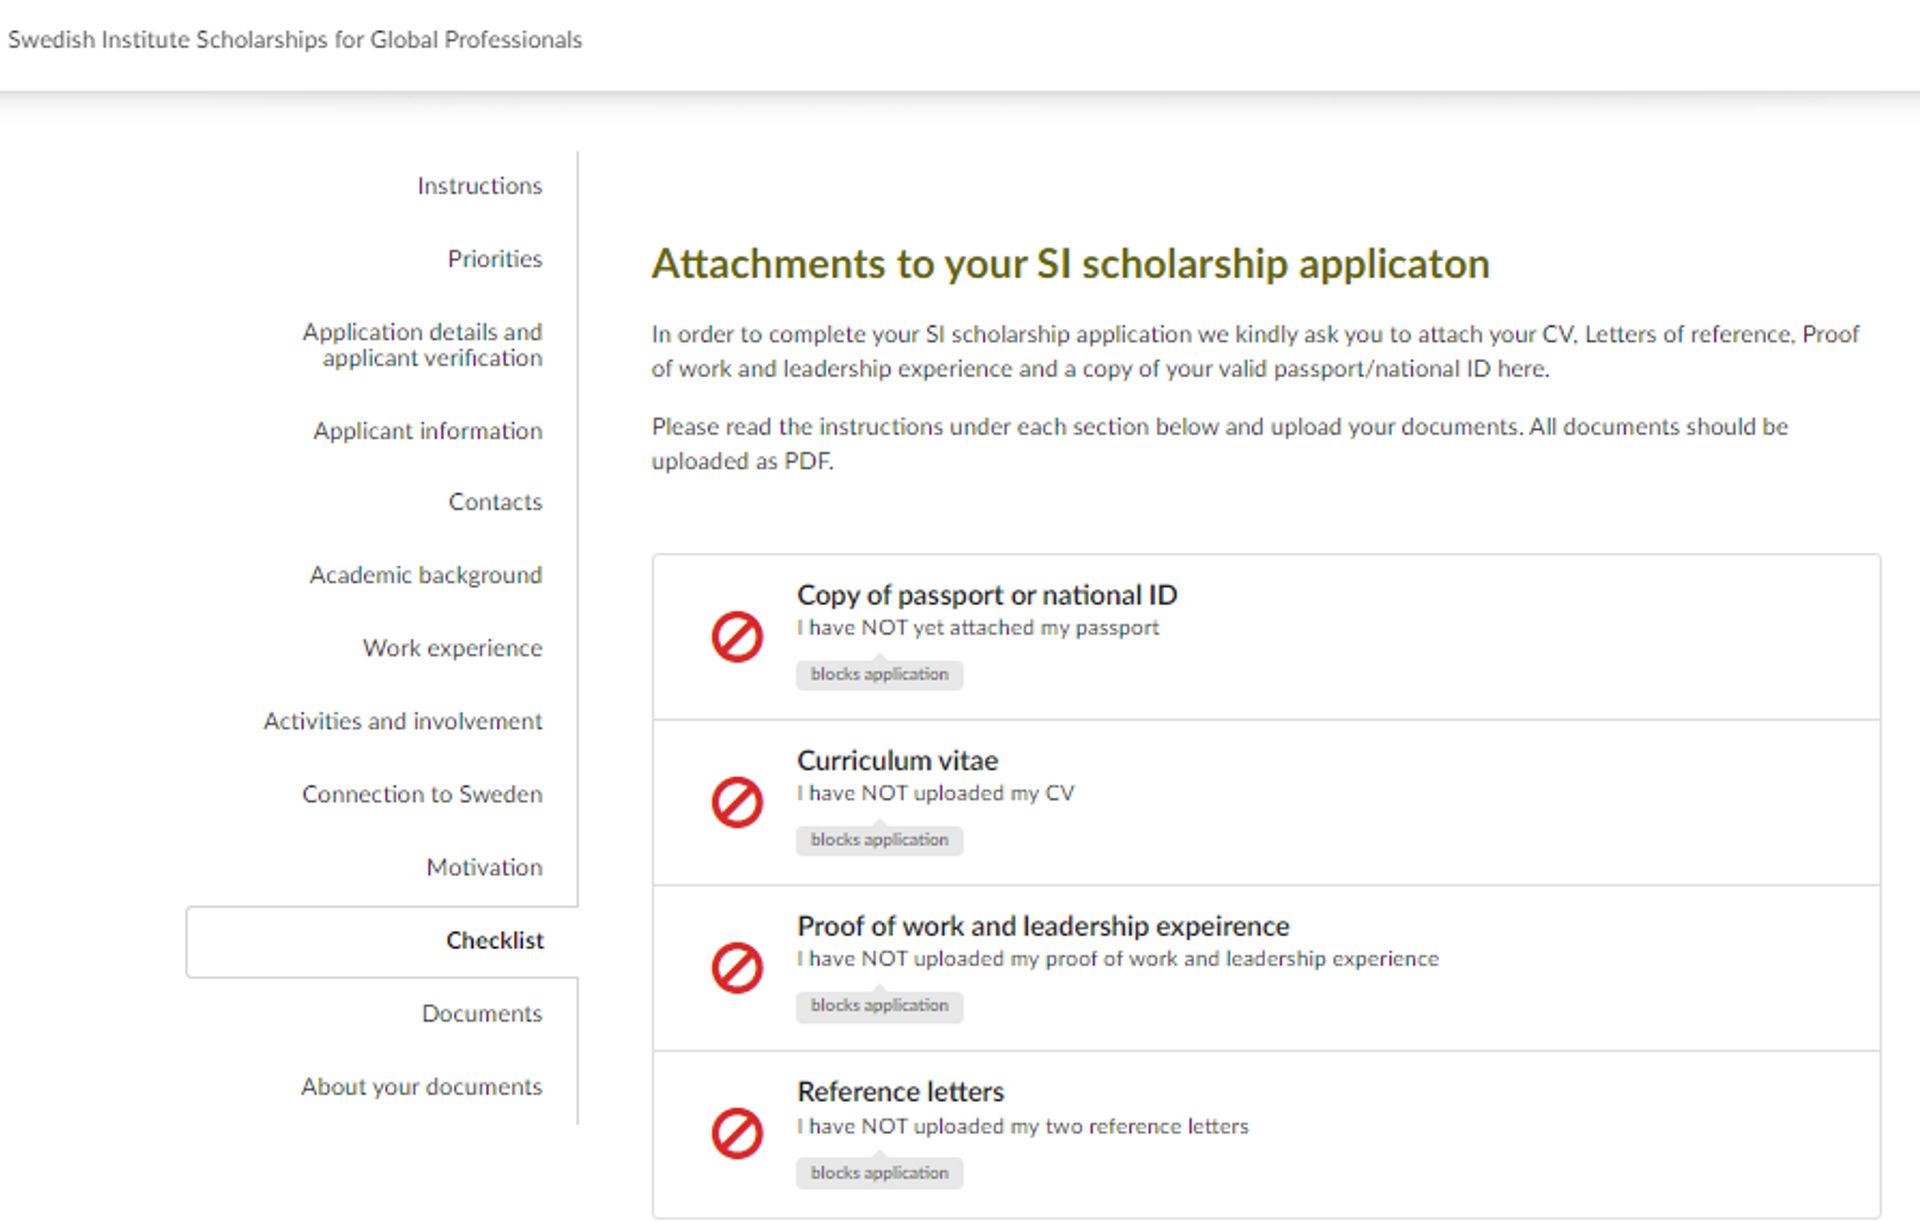
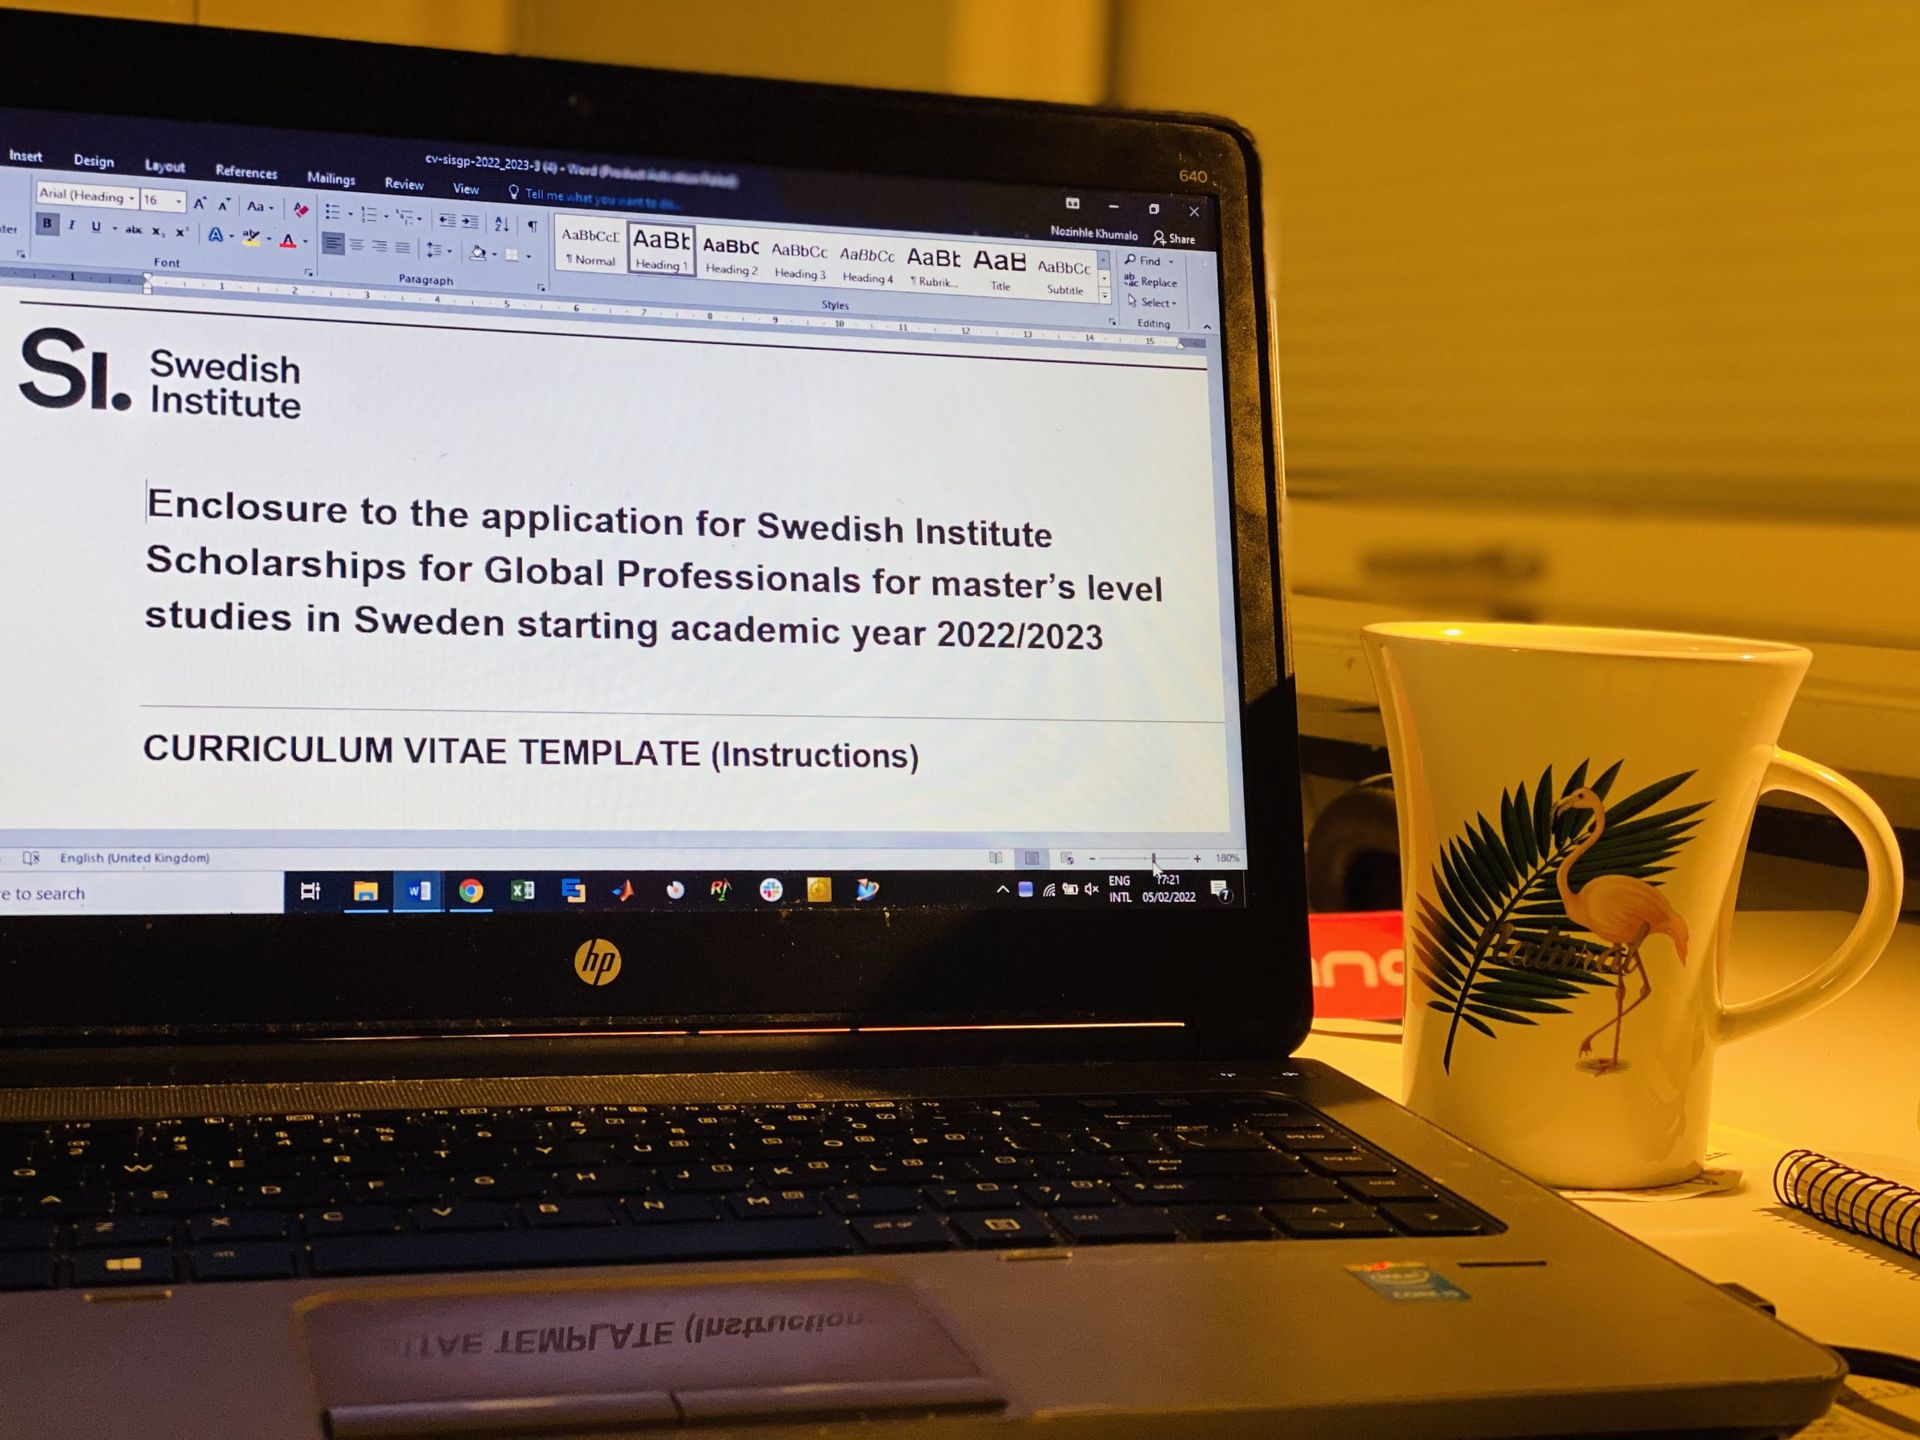
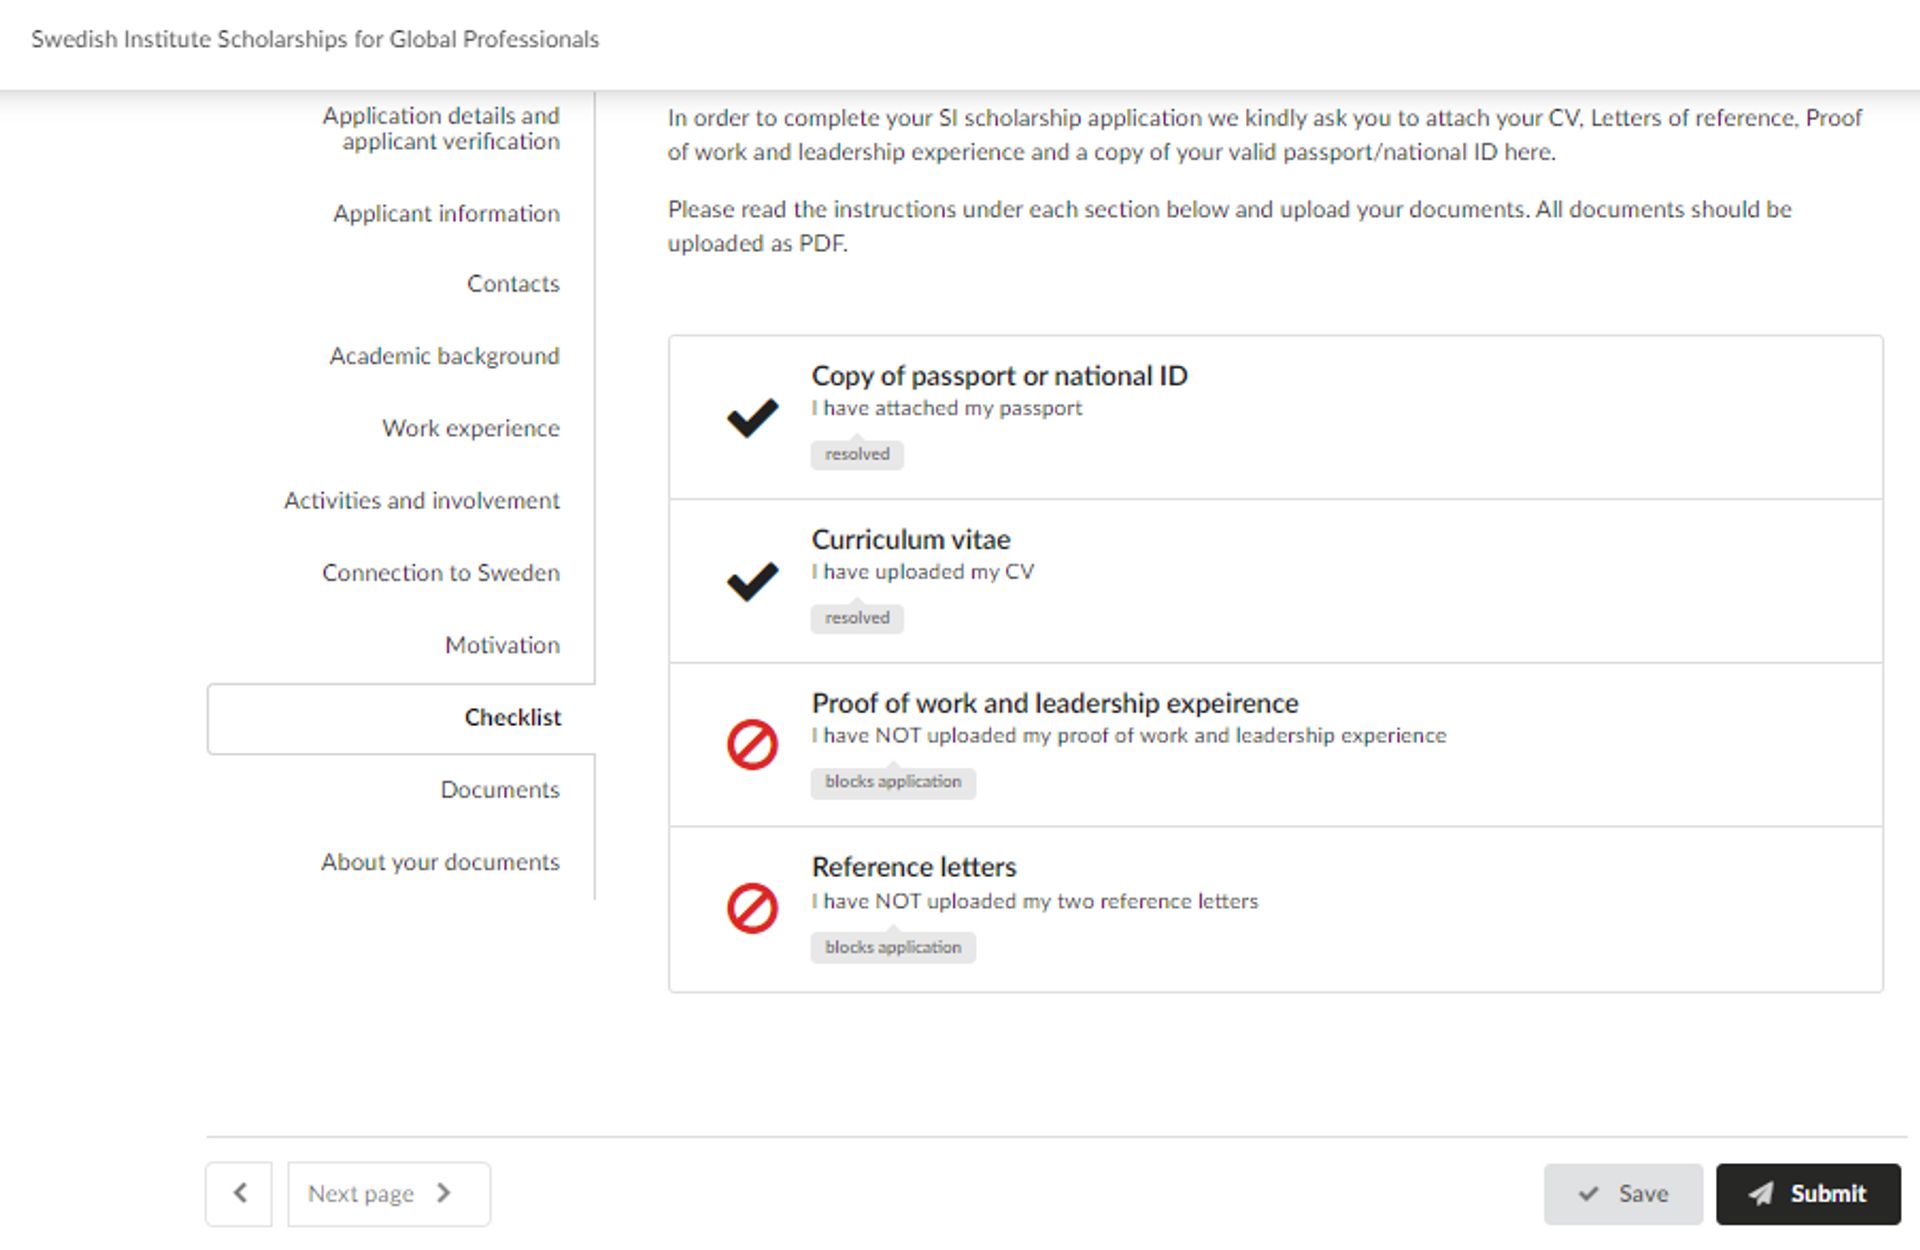
On the “Checklist” tab, you need to upload the supporting documents for the SI scholarship. This includes the passport, CV, proof of experience, and reference letters. Make sure you have completed your documents correctly before uploading them. When uploading your documents, you have an opportunity to make additional comments if you feel that there is information that the selection committee might require clarity on.
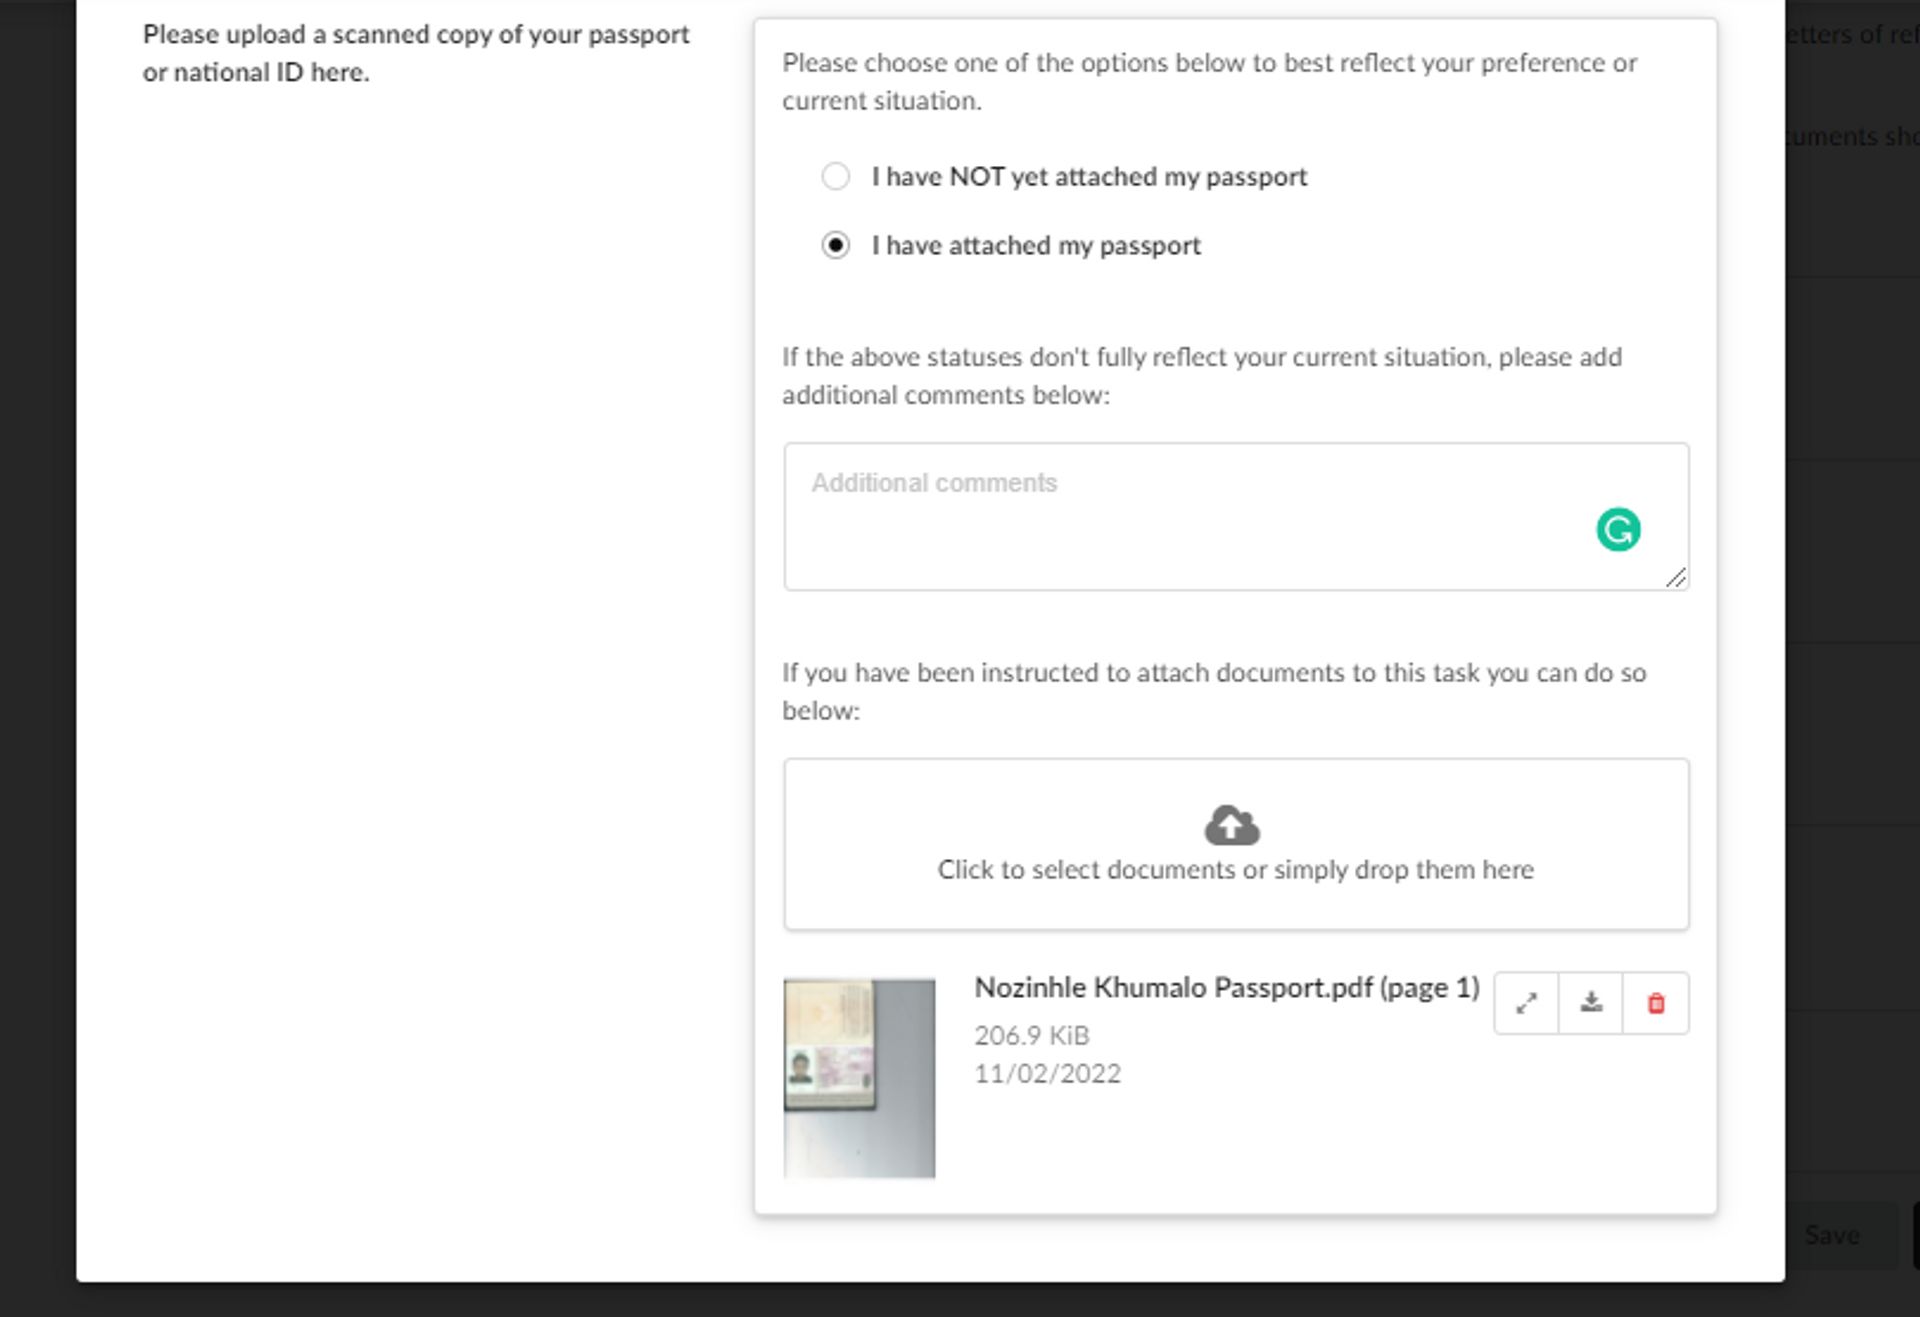
After uploading, you will be able to preview the documents you have uploaded – page by page. Also, in the “Documents” tab, you can preview the documents you uploaded again. Additionally, you need to confirm information regarding your documents in the “About your Documents” tab. Here you need to confirm the sources of your documents and whether your documents meet all the requirements as outlined by SI.
Tip: In the upload tab, you need to first upload your document then confirm that you have uploaded it. Once uploaded, the document annotation will change from “Blocks application” to “Resolved”.
7. Save as you go
You do not have to complete your application in one go. You can use the “Save” button at the top right corner of the application page to save your progress and return to the application later. Just remember to submit your application before the deadline.
Till next time. Hej då!