
Written by Ravindu
06 Apr 2025

So, you got accepted to a university in Sweden! First of all—congratulations! Getting an offer to study as an international student is something you should be very proud of. And, If you’re reading this, you’re probably gearing up for the exciting transition ahead. Starting your studies in Sweden is a big step, and there’s so much to look forward to!
If you’re a non-EU student, the next big step is applying for and receiving your residence permit to study in Sweden. You can mostly do this process online, and it’s relatively straightforward. However, after submitting your application and patiently waiting for weeks, you finally receive the follow-up email you’ve been anticipating—only to discover an unexpected request: They ask you to visit a Swedish Embassy…. in another country?
If this sounds confusing, you’re not alone. I was in the exact same situation when I first applied. In this blog post, I’ll walk you through why this happens, how to prepare for the embassy visit, and what to expect—based on my own experience as an international student from Sri Lanka.
Why Are You Being Asked to Visit An Embassy in a Another Country?
If your email contains a request to visit a Swedish embassy outside your home country, it’s most likely because your country does not have a functioning Swedish embassy that handles residence permit matters.
In such cases, you’ll be asked to:
- Visit the nearest Swedish embassy that accepts residence permit applicants
- Present your original passport
- Provide biometric data (fingerprints and photograph)
This biometric information will be used to produce your residence permit card, which is an essential document required to enter Sweden and begin your studies.
How to Find Out Which Embassy to Visit
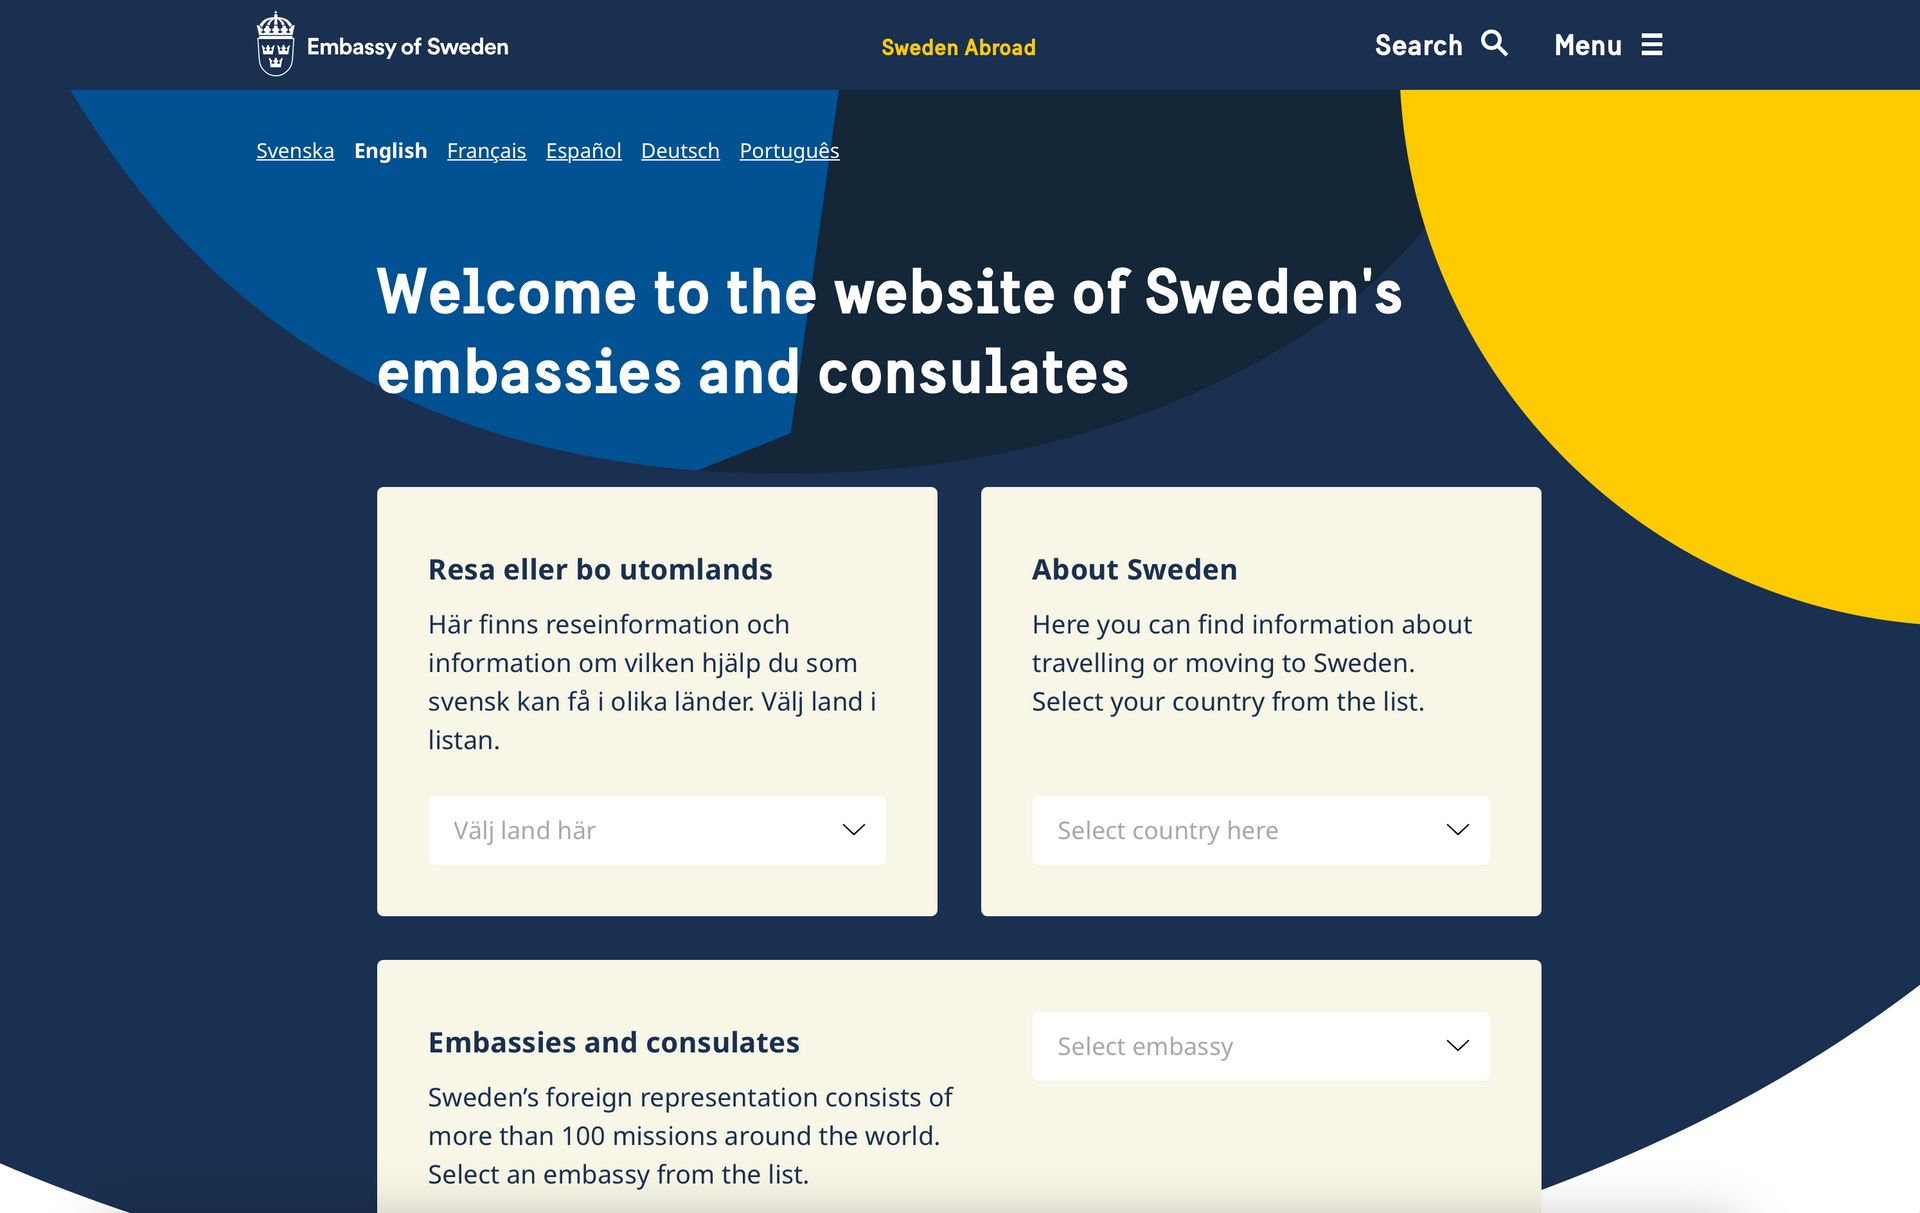
The best way to find the correct embassy is through the official Sweden Abroad website. Select your country from the list, and you’ll be redirected to a page with instructions tailored to your location. This will often include details such as which embassy handles applications for your region and whether you need an appointment.
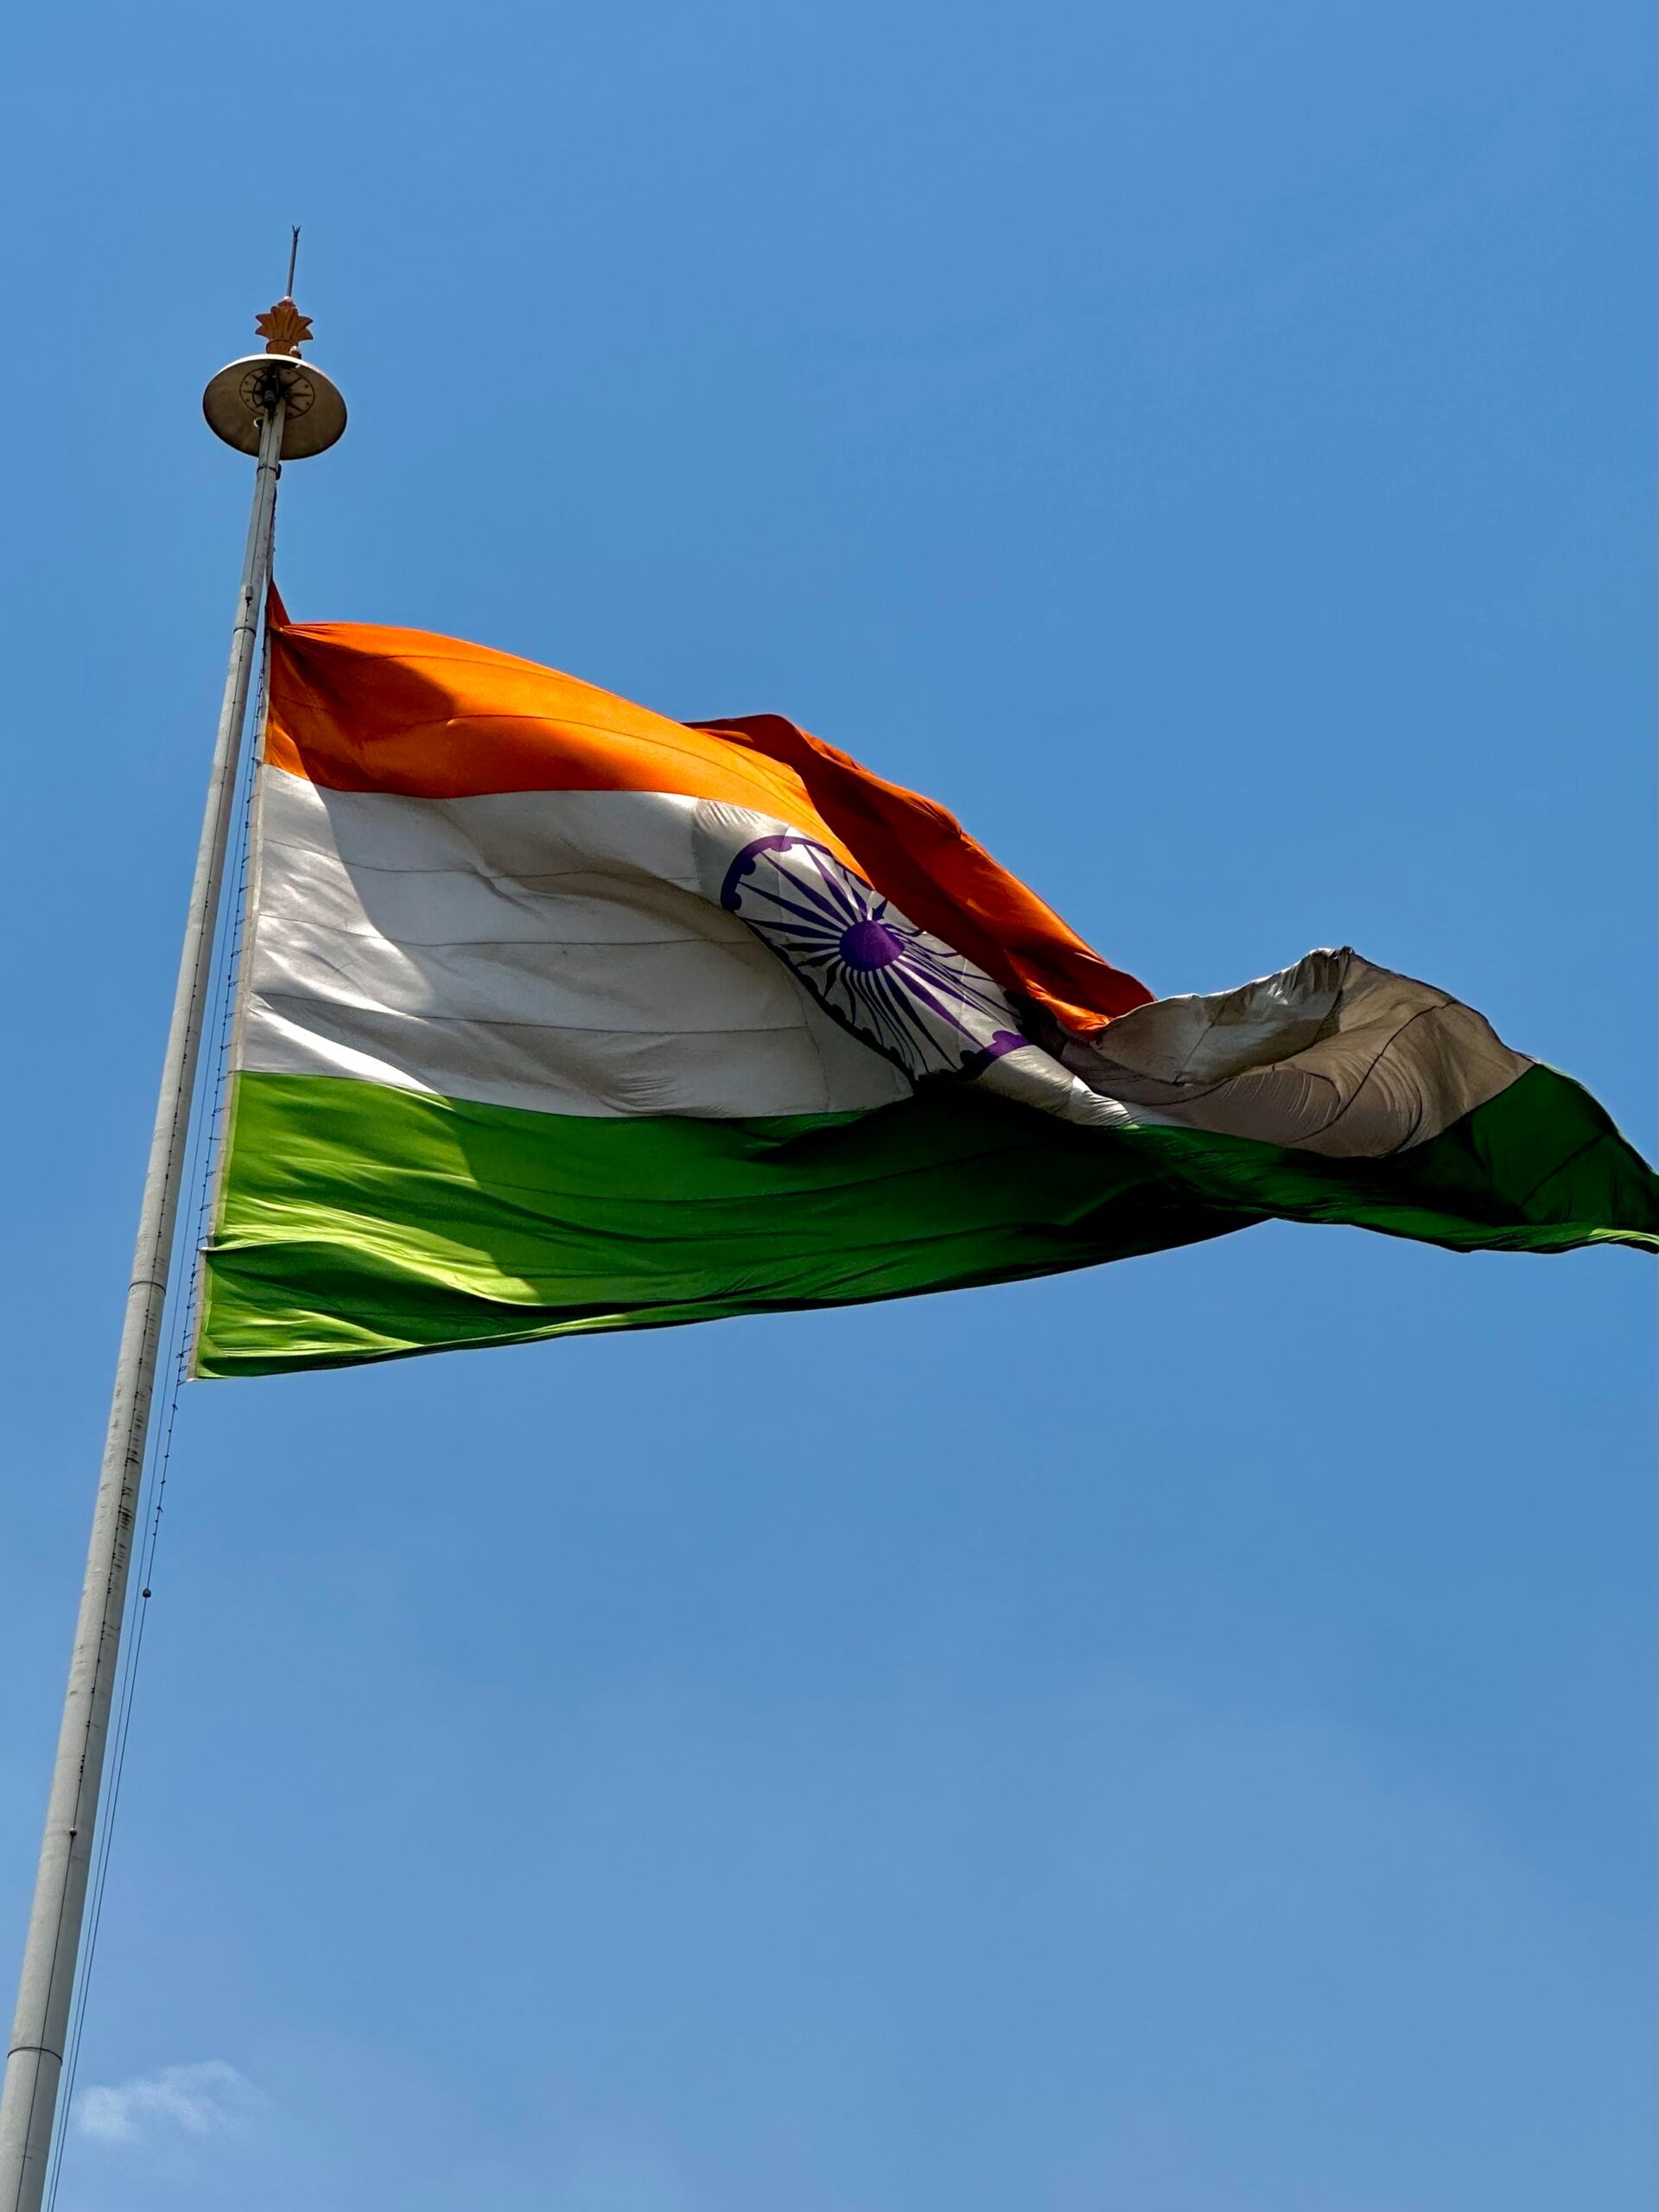
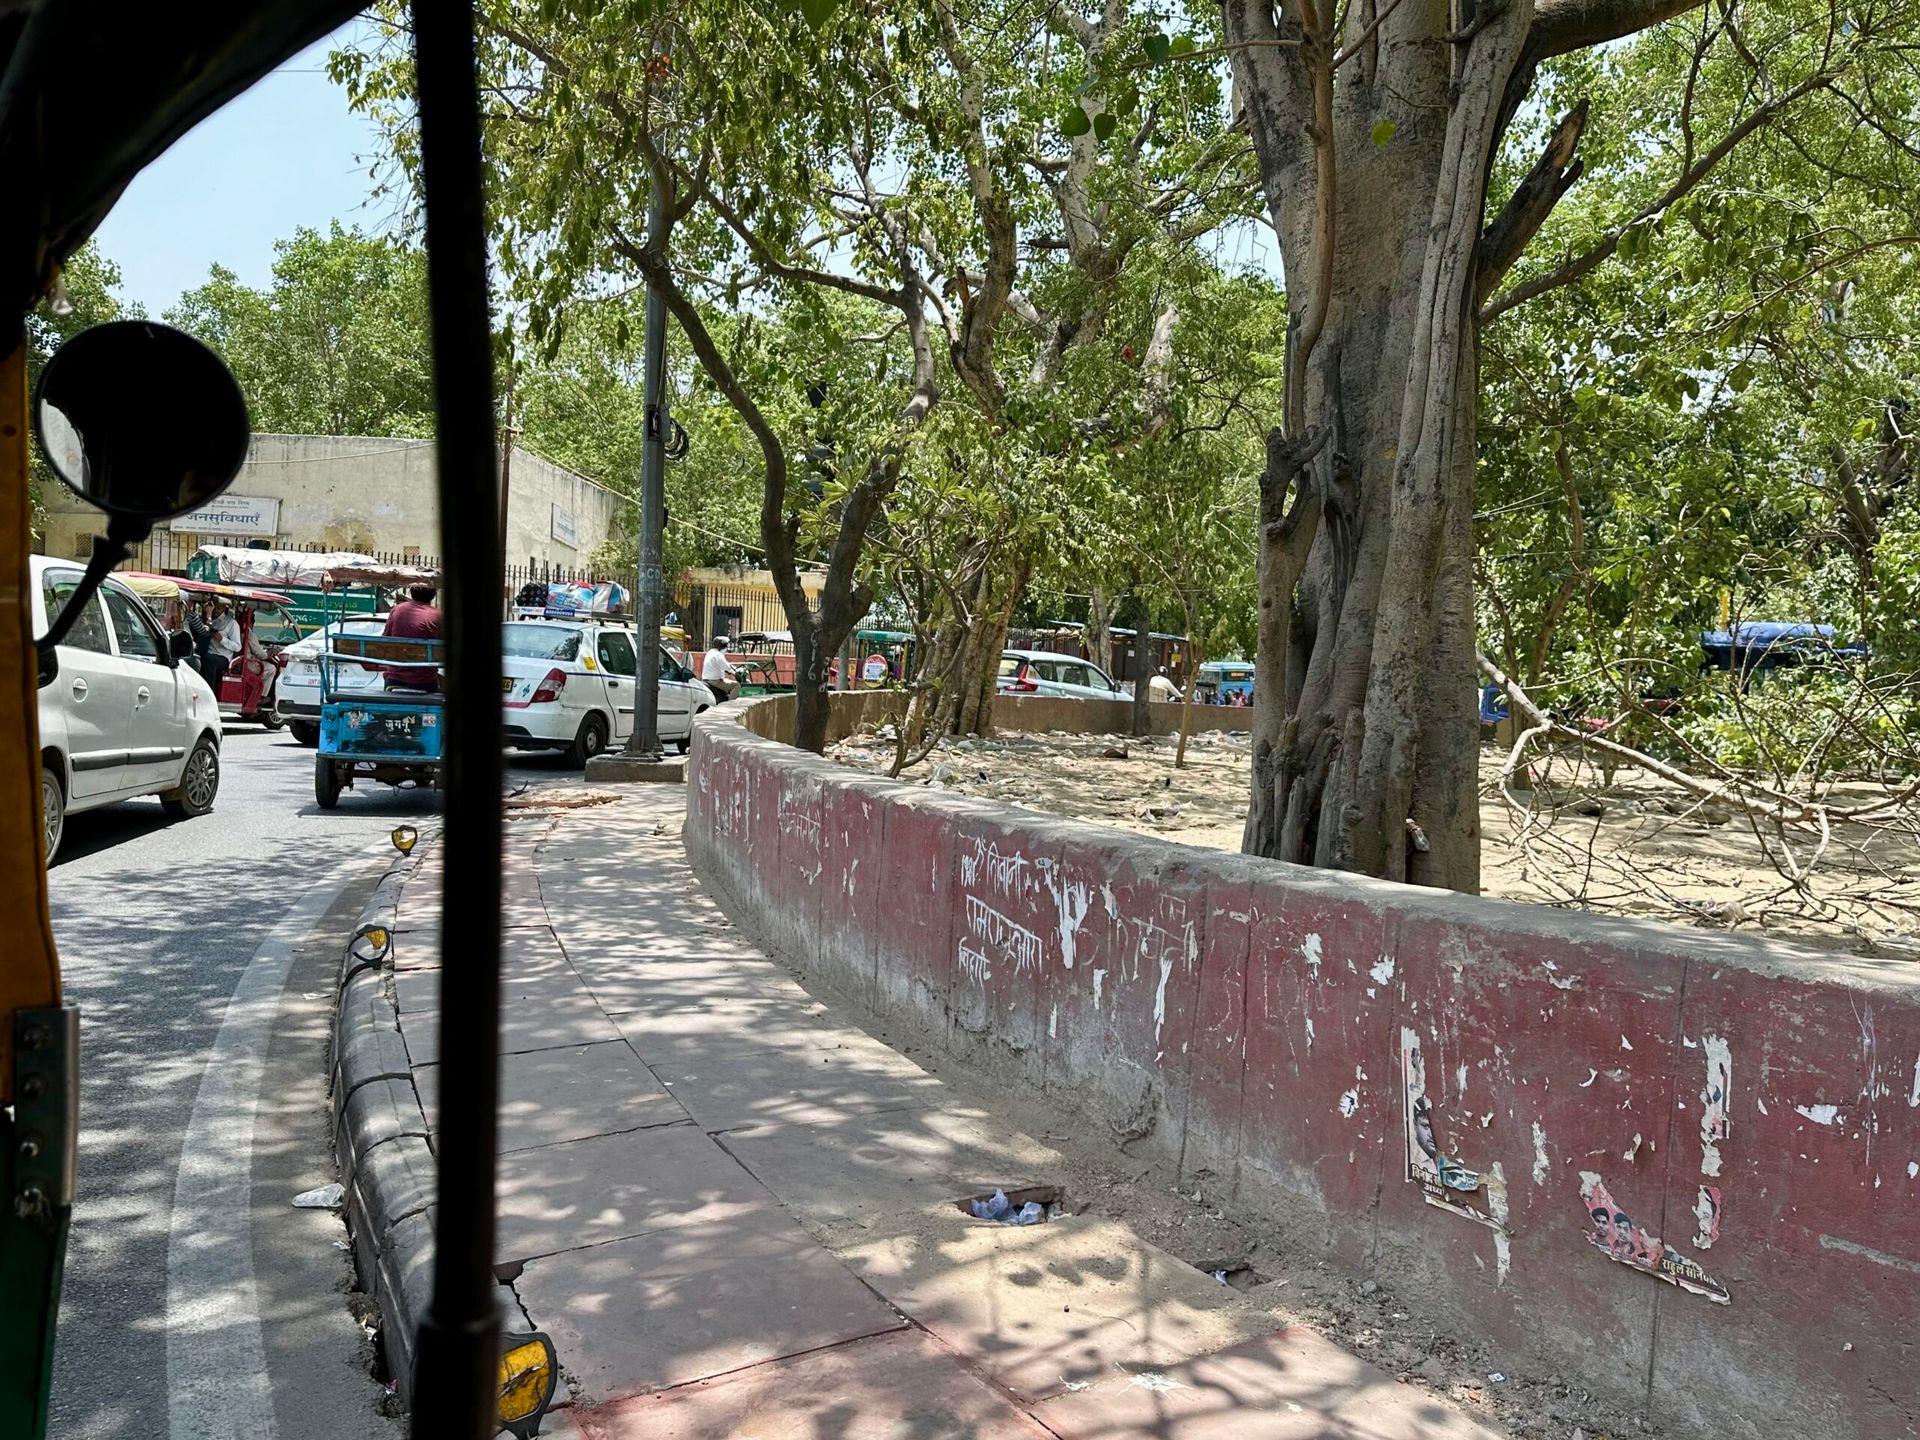
As a student from Sri Lanka, I had to visit the Swedish Embassy in New Delhi, India. Perhaps you already anticipated this step in your application process—but if not, don’t worry. Here’s how to prepare effectively for the visit.
Preparing for the Trip
1. Check Embassy Requirements and Choose Your Dates
Start by confirming whether the embassy you’ll visit requires a prior appointment or allows drop-in visits. The embassy in New Delhi, for example, accepts walk-ins for passport verification, but this varies depending on the country.
This information can be found on the specific embassy page on Sweden Abroad. You’ll also find their operational hours and holiday schedules—both of which are important for planning your visit.
Tip: Avoid choosing a public holiday or weekend. Embassy schedules may differ from regular business days.
2. Check Visa Requirements for the Country You’re Visiting
If you’re visiting another country to reach the embassy, check whether you need a visa to enter that country—and apply as early as possible. Processing times vary, and it’s better to have your visa confirmed before booking flights or accommodation.
In my case, I applied for an Indian e-visa through the Government of India’s official online portal. I preferred to do this on my own rather than go through an agent, but choose whatever process feels most secure and convenient for you.
Tip: If your purpose is solely the embassy visit, a basic Entry Visa might be sufficient. But if you plan to travel and explore a bit during your stay, consider applying for a Tourist Visa.
3. Prioritize the Embassy Visit
It’s a good idea to schedule your embassy visit on the first day of your trip. This gives you time to handle any unexpected issues or delays, especially since the residence permit process is crucial.
I recommend keeping at least one extra day available just in case. I met a couple who had to return to the embassy the next day because their biometric data wasn’t properly submitted. Giving yourself some flexibility can prevent a lot of unnecessary stress.
4. Consider Traveling with Someone
While solo travel can be exciting, having a friend or family member join you for this particular trip can be reassuring. There are many moving parts—visas, embassy procedures, navigating a new city—and it’s helpful to have someone to share the experience with.
Through a university WhatsApp group, I found another student from Sri Lanka who was also accepted into the same program. We decided to travel together, and it turned out to be a great decision. From figuring out directions to handling language differences, everything was more manageable with a companion.
Tip: If you’re connecting with someone online, meet them in person beforehand if possible. Always prioritise your safety when forming travel partnerships.


Packing Checklist
To help you stay organized, here’s a list of essential items to pack for your embassy visit and travel:
- Passport: Make sure it’s valid and not close to expiring
- Admission Letter: Usually the Notification of Selection Results from University Admissions.
- Visa Documents: Carry a printed copy of your visa, especially if it’s an e-visa.
- Financial Proof: Bring the same bank statements or scholarship documentation you submitted for your residence permit.
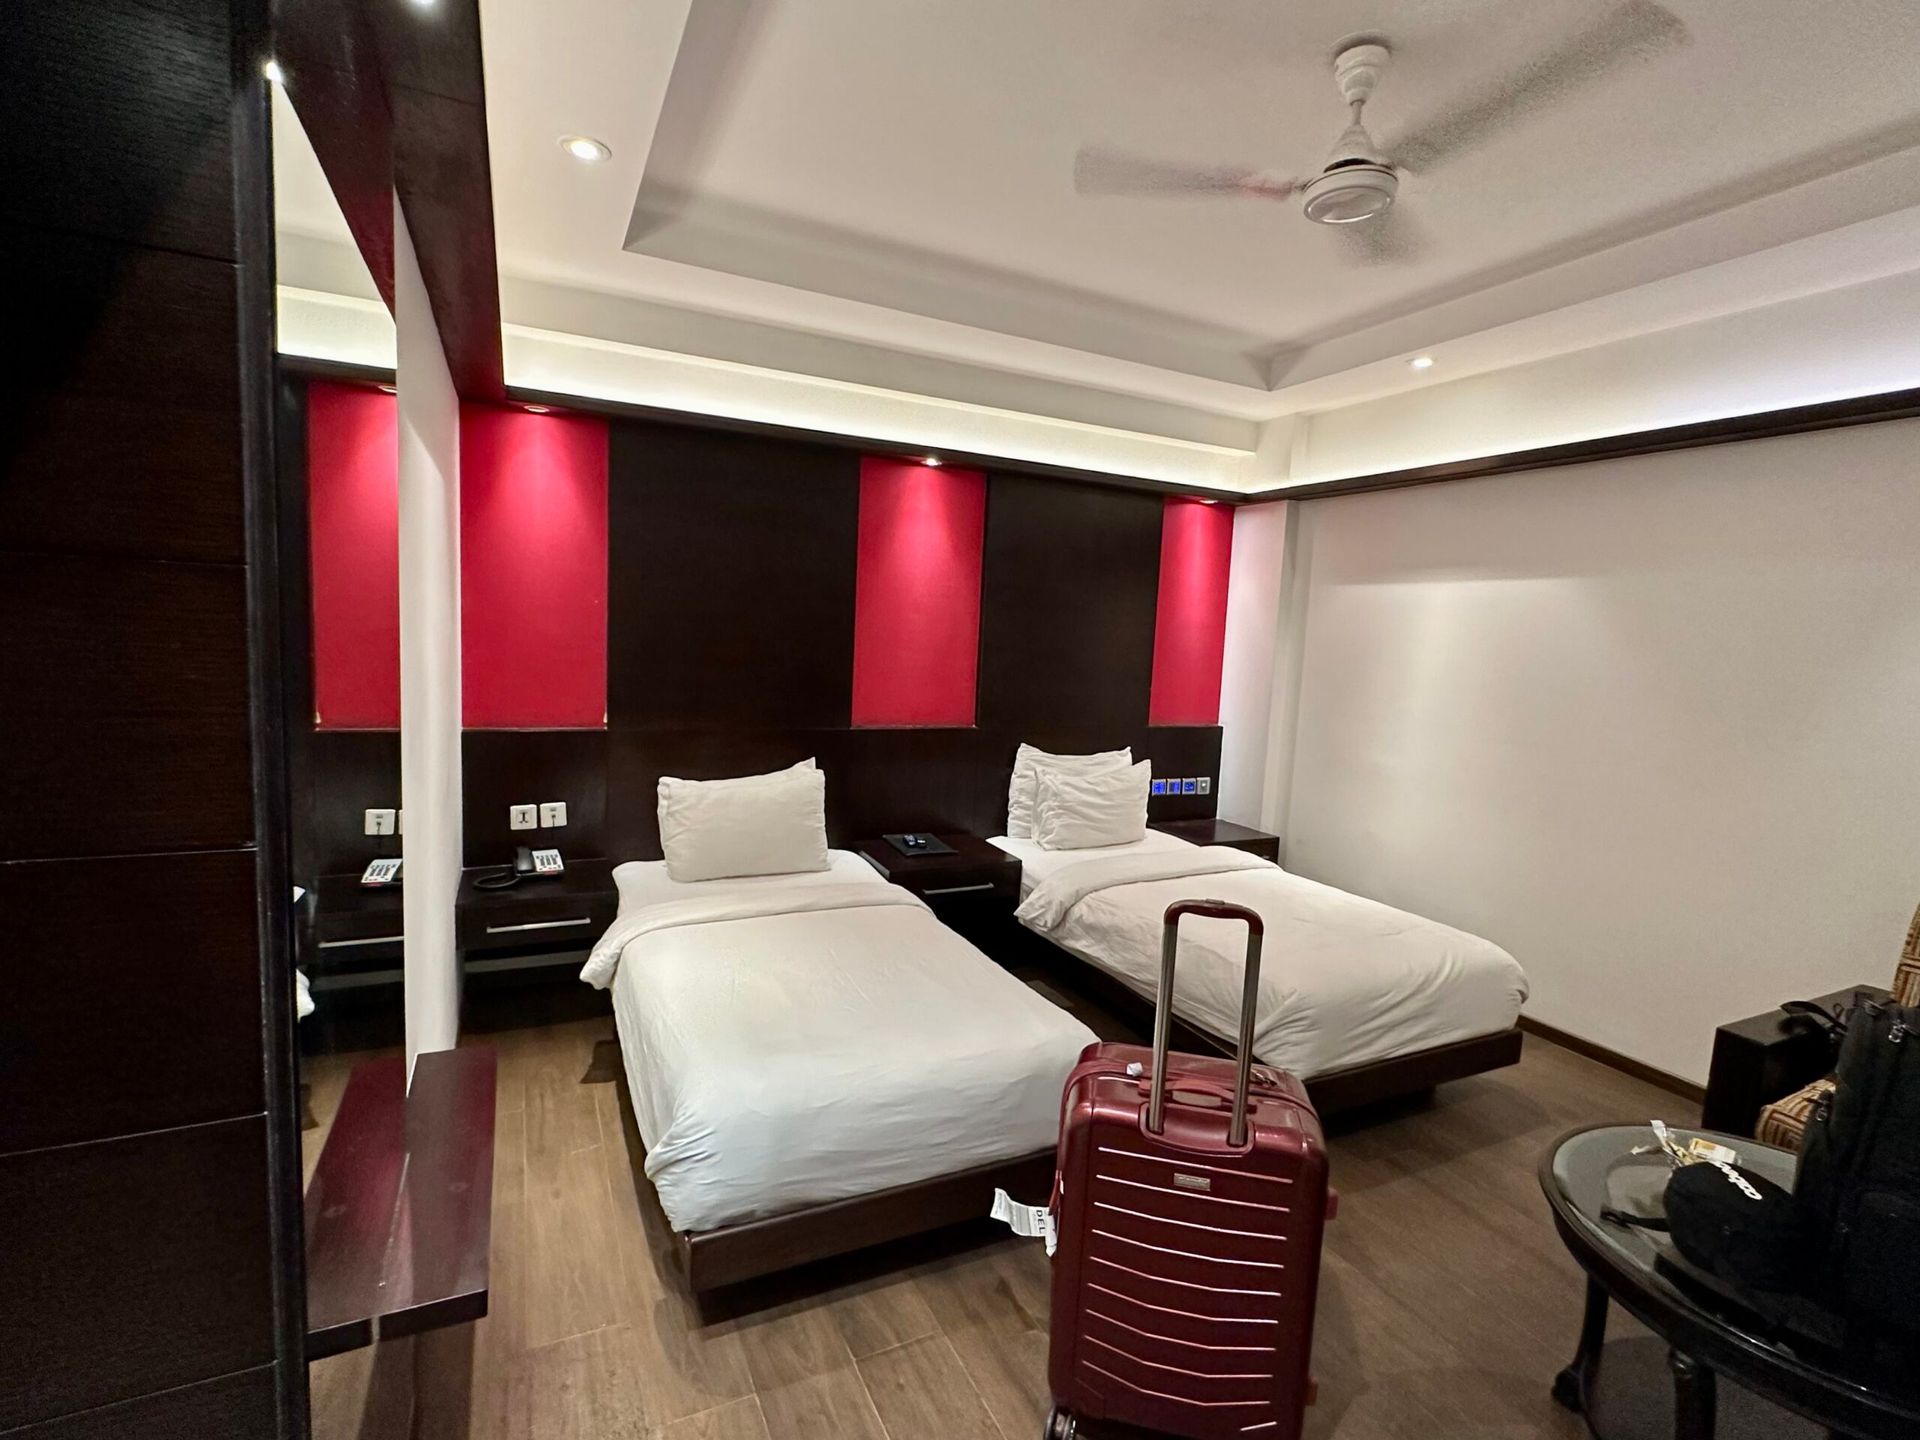
- Accommodation Details: Hotel reservation or proof of stay. A PDF print-out is best.
- Identity Proof: Such as a national ID card or driver’s license.
- Insurance Details: Health insurance for your stay, even if short-term
- Travel Itinerary: Printouts of your flights, hotel bookings, and any local travel plans.
- Embassy Appointment Confirmation: If applicable.
- Copies of All Documents: Having extra copies never hurts.
- Foreign-Ready Bank Card: Make sure your card works internationally.
- Comfort Items: Snacks, water, book or music for long waiting periods.
- Mobile Connectivity: Activate international roaming or plan to buy a local SIM card
Tip: I activated roaming, but my friend got a local SIM card upon arrival. His mobile reception was much better, especially in rural areas, so I’d recommend that option if it’s accessible.
What to Expect at the Embassy
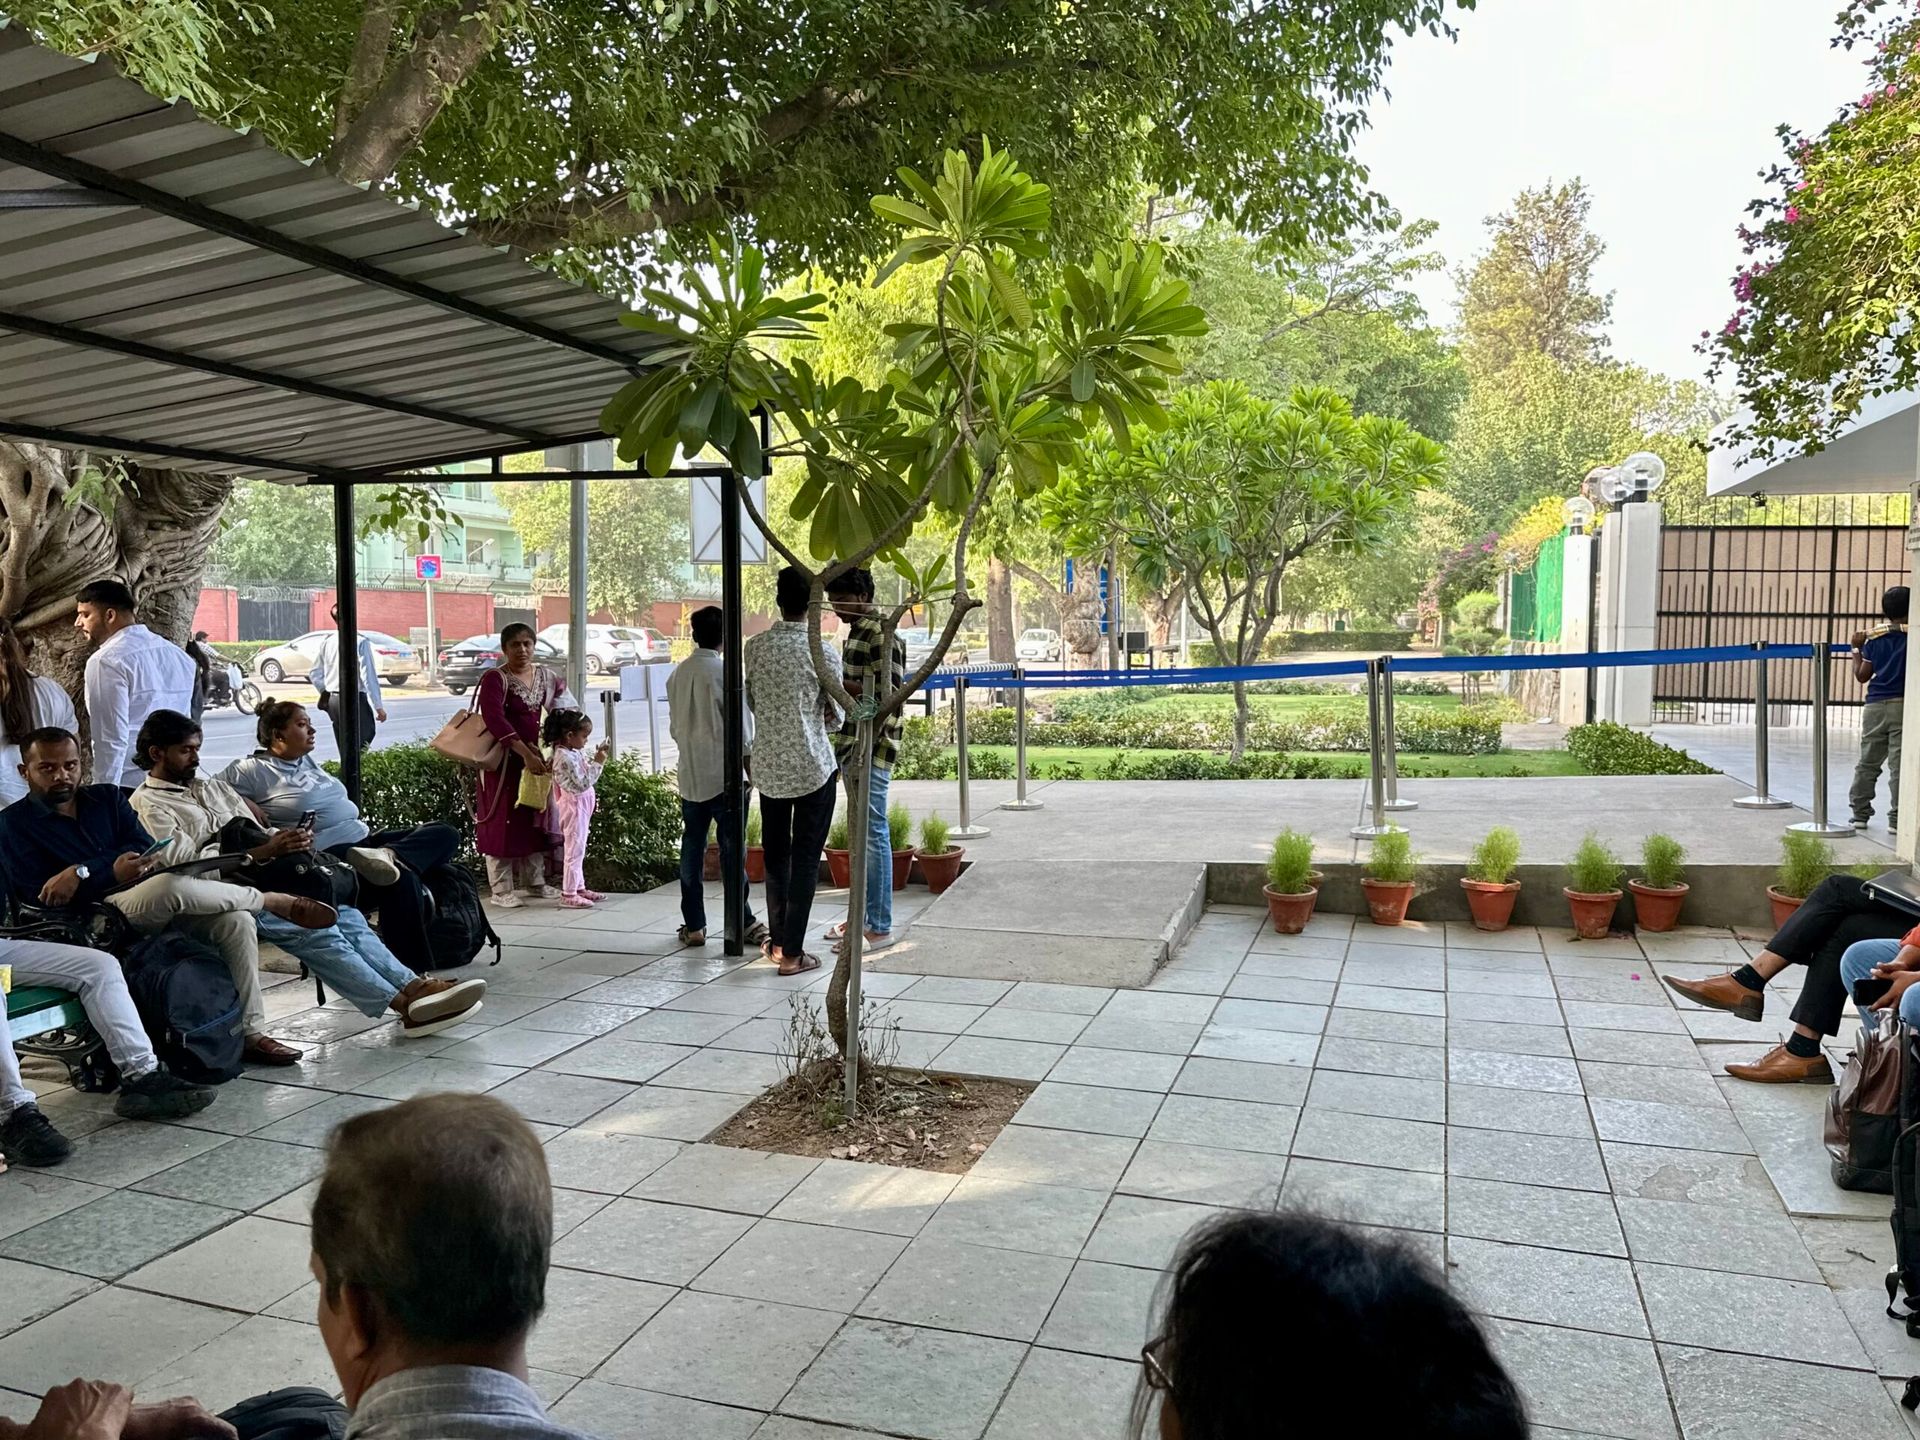
Arrive early!
Although the embassy in New Delhi opens at 9:00 AM, we arrived by 6:30 AM—and there was already a long queue. My number was 28. If you want to finish early and have time to explore, getting there ahead of time is essential.
The process itself was relatively quick. I was done by 9:45 AM.
Tip: While it’s uncommon, you may be asked a few questions—almost like a short interview. Two students we met had to answer basic questions about their course, university, and living plans in Sweden. Be ready to speak clearly and confidently about your application.
After Your Embassy Visit
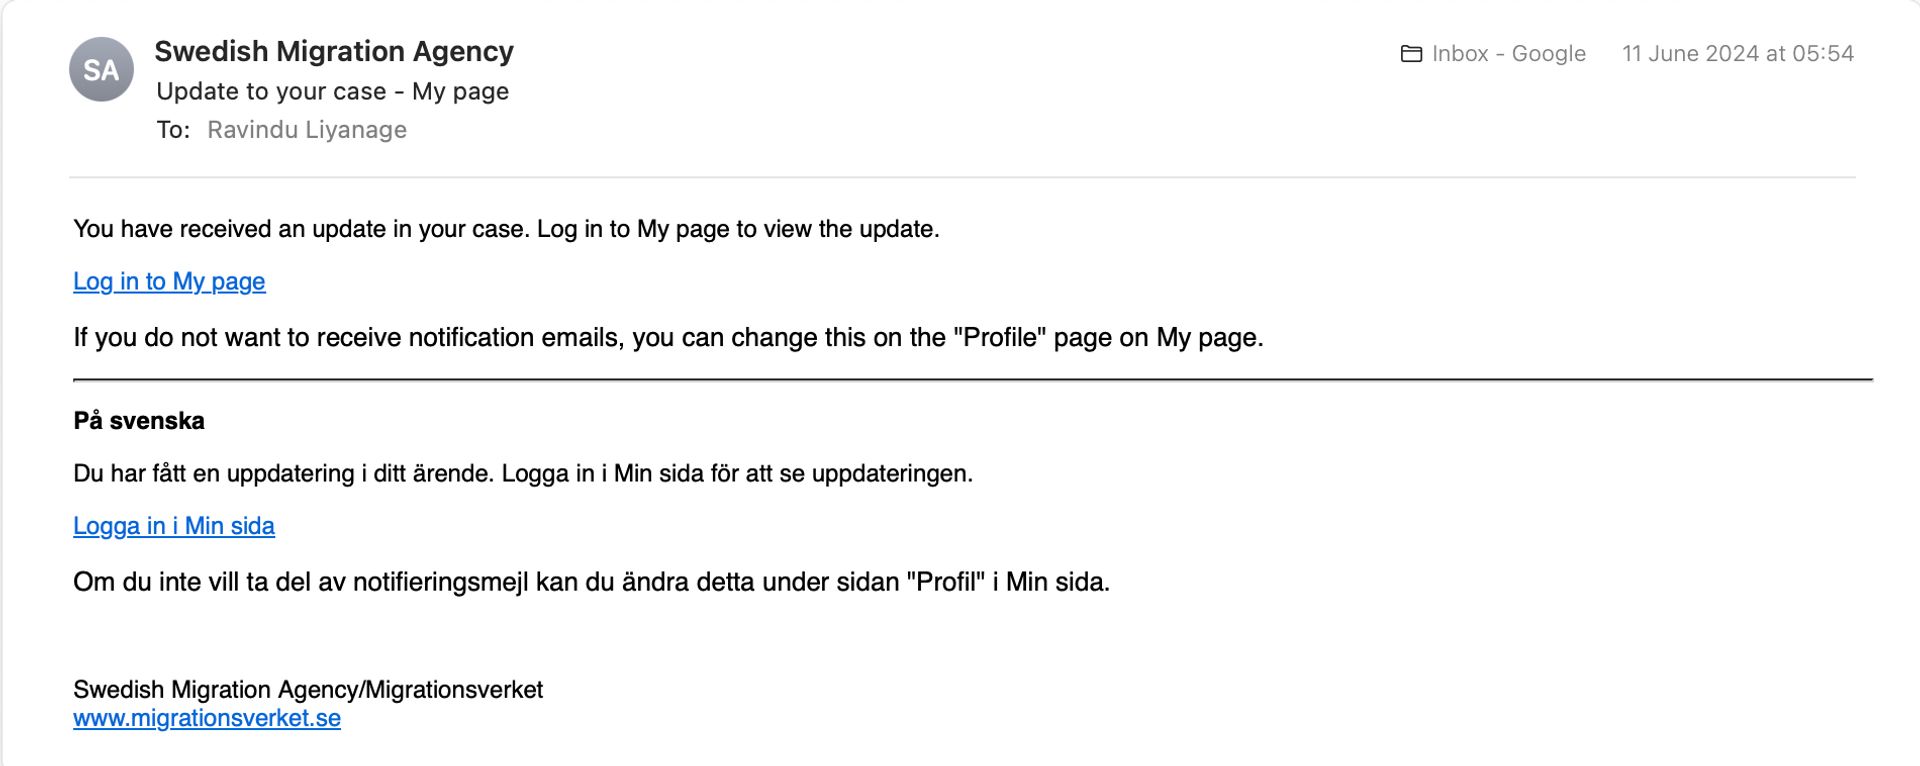
After you submit your biometrics, you should receive a confirmation email from the Swedish Migration Agency within 24 hours. If you don’t receive one, contact the Migration Agency or the embassy before you return home to ensure everything was submitted correctly.
If you do receive the confirmation, congratulations—you’ve successfully completed one of the most important steps in your residence permit journey.
Make the Most of the Trip
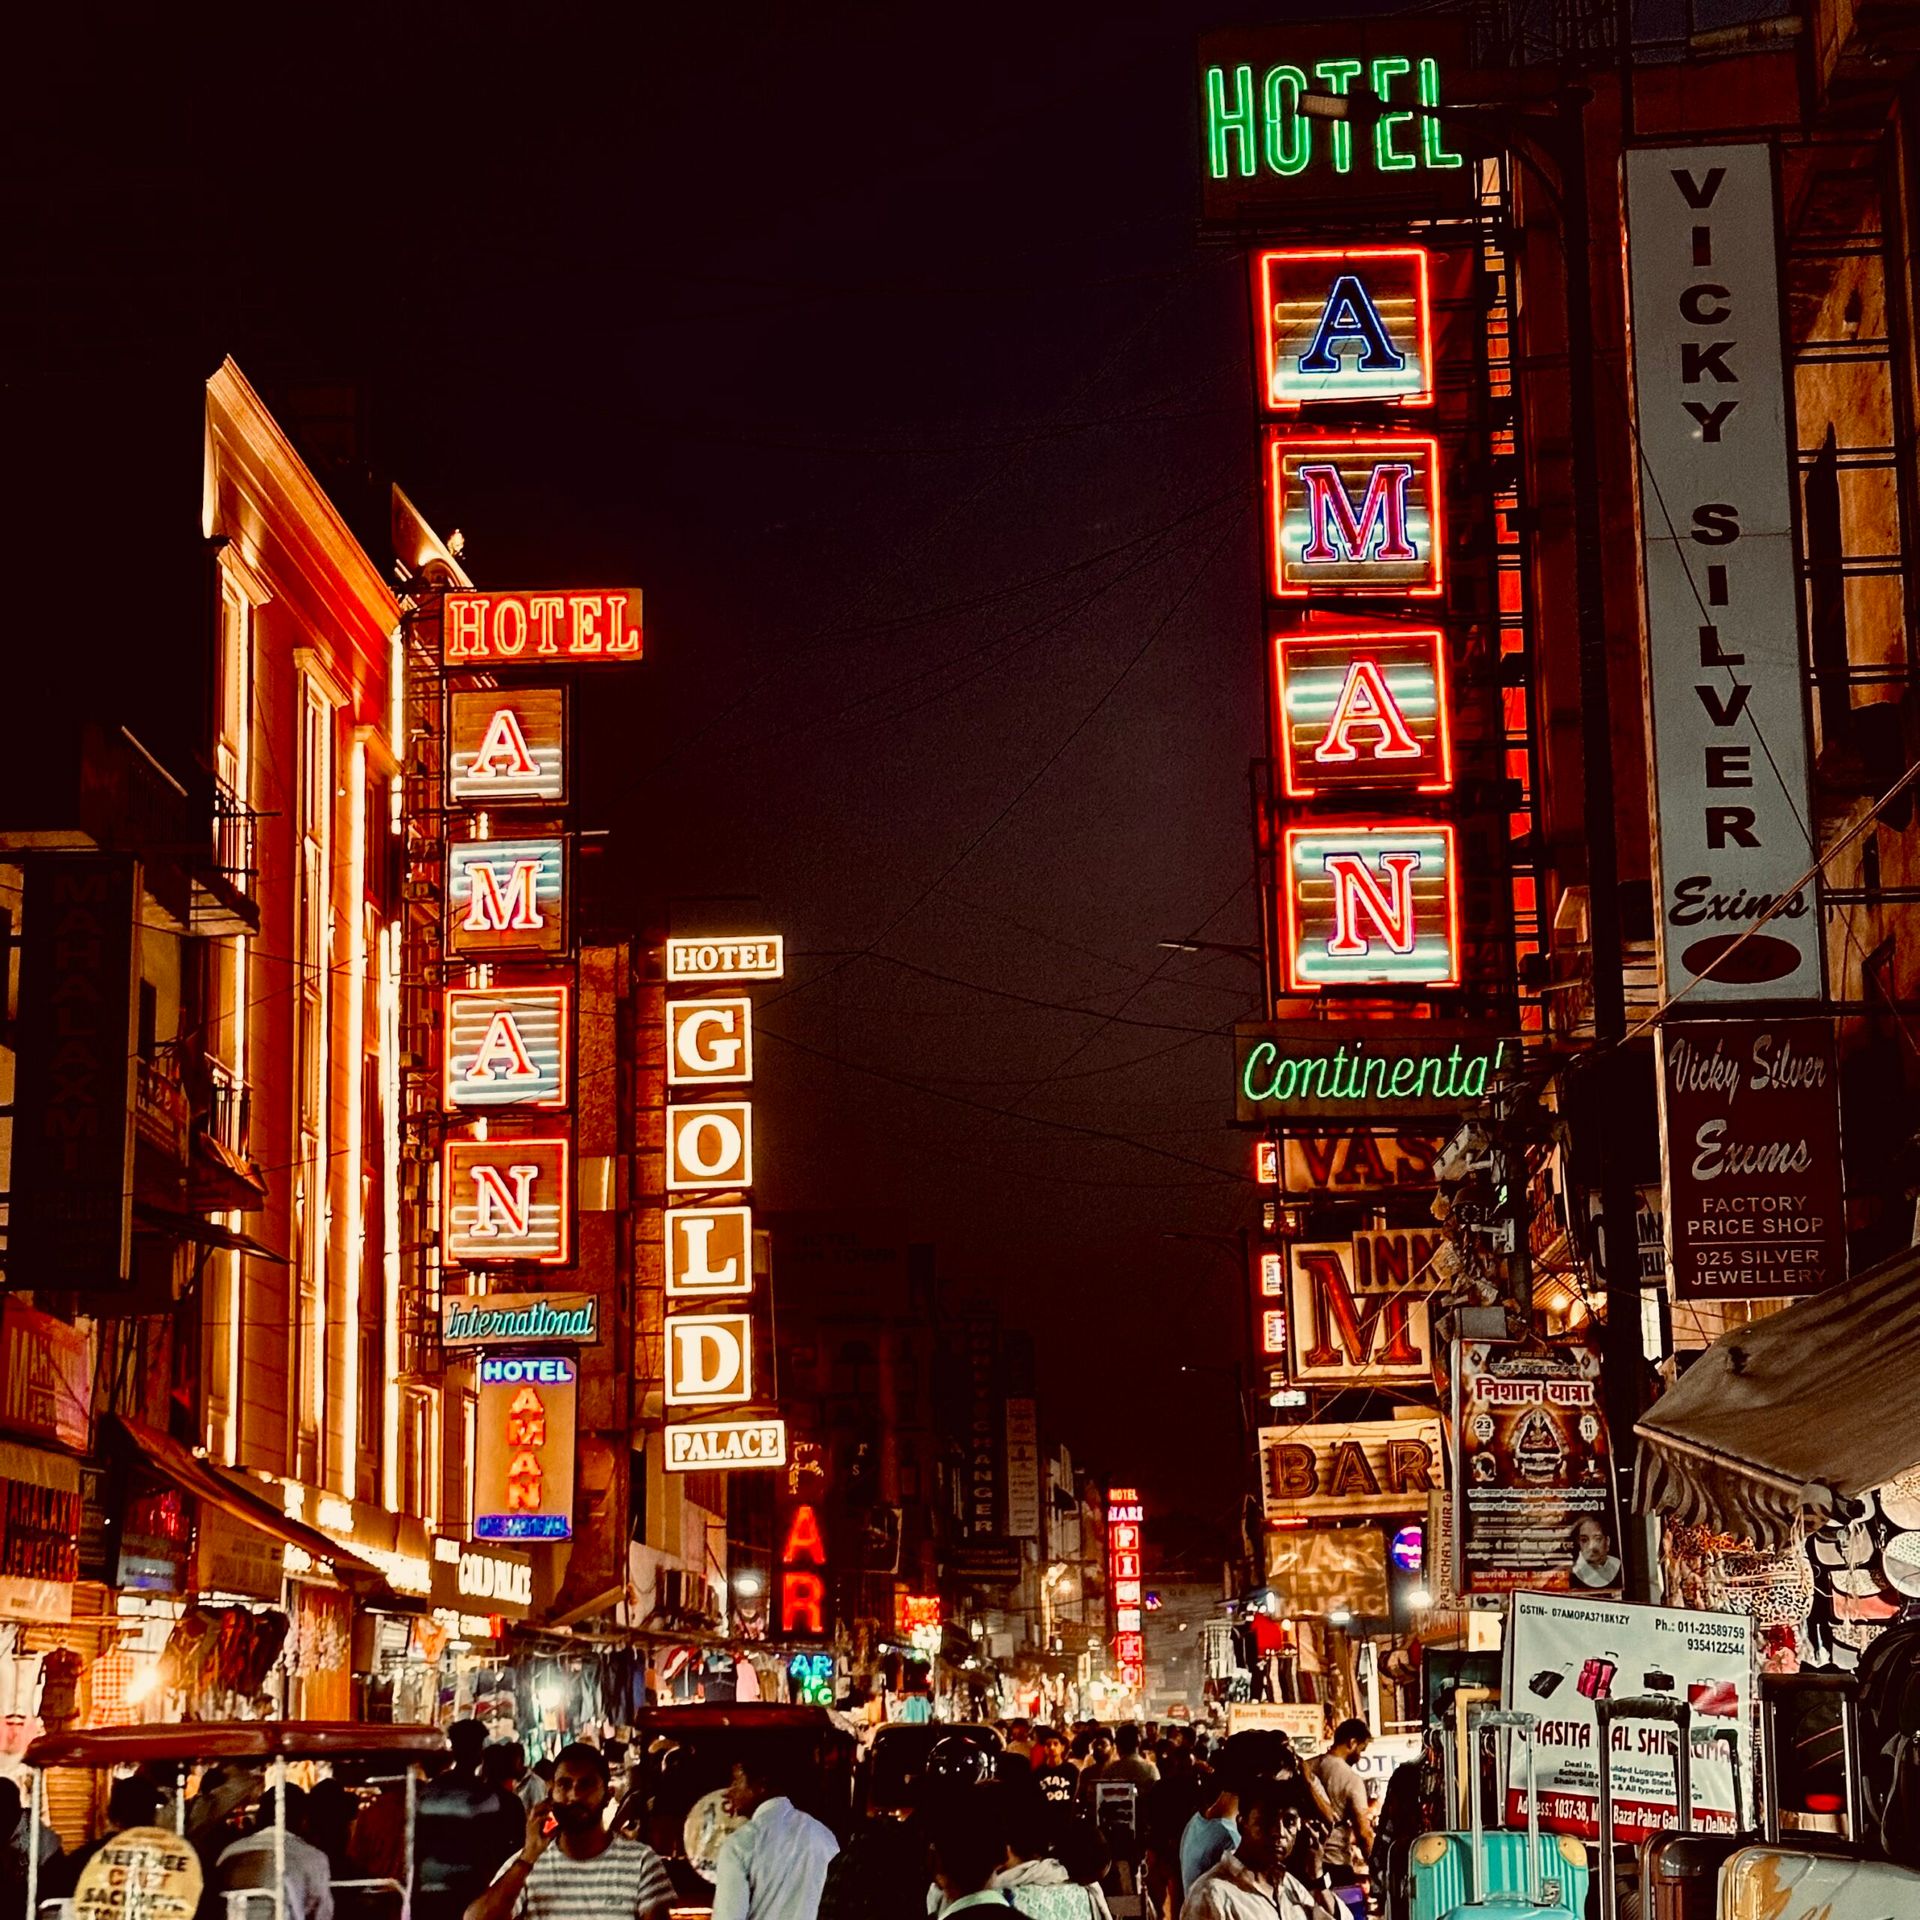
Once the embassy visit is behind you, take a moment to breathe. If you’ve planned your trip well, you’ll likely have some free time left. Why not explore a bit?
Tips for Exploring:
#1 Plan your adventure
Before you set out, prepare a flexible itinerary for your trip. Decide on the main attractions you want to see, but be open to changing your plans and embracing spontaneous adventures. Choose your main mode of transportation based on your budget, whether it’s public transit, biking, or walking.
#2 Leave Your Passport Securely
First things first, securely store your passport and important documents in your hotel safe. Carry a photocopy or a digital copy on your phone for identification, and keep your valuables close.
#3 Embrace the Adventure
Treat this trip as a warm-up for the big move you’ll make when you migrate to Sweden for your studies. Immerse yourself in the local culture, try new foods, and meet people. Each city has its charm, so explore landmarks, visit museums, and enjoy the art scene.
#4 Stay Safe and Vigilant
While you explore, stay safe and be mindful of your surroundings. Keep an eye on your belongings, and be cautious in crowded places. I almost had my phone stolen during my travels, so trust your instincts and stay alert!
#5: Reflect on Your Journey
Take a moment to reflect on your experience and the exciting journey ahead in Sweden. This trip is a taste of the independence and adventure you’ll experience once you start your studies.
What Happens Next?
Now it’s time to wait for the final decision from the Swedish Migration Agency. If your application is approved, you’ll receive another email confirming that your residence permit card is ready for collection.
This card is your official proof of residency in Sweden, so keep an eye on your inbox and be ready to collect it.
Final Thoughts
This trip—though unexpected—can turn out to be an opportunity for growth, travel, and preparation. Think of it as your first real step into international student life.
Wishing you all the best as you move forward with your journey to Sweden!