
Written by Jazmin
19 May 2025
I’ve been reading your comments, and I’ve noticed that many of you are currently worried about getting your residence permit for your upcoming trip to Sweden. I was in the same situation once, so in this blog, I’ll share my experience with the process. I hope it helps!
As you may know, I’m Peruvian, and I went through this process in 2024. Keep in mind that things may change over the years and can vary depending on your country of origin.
Step 1
First, you must have an official letter of acceptance from a Swedish university. If you’re a non-EU student, you must also be able to pay your tuition fees before applying for the residence permit.
In my case, I had a scholarship, so I didn’t need to prove I could pay tuition. But if you don’t have one, it’s extremely important to sort this out before anything else!
Step 2
Once you have your acceptance letter and meet the financial requirements, you need to apply for the residence permit through the Swedish Migration Agency’s website (Migrationsverket). There you’ll find detailed steps and a list of required documents.
It’s important to know that you must be able to financially support yourself for the entire period of your studies in Sweden. So, the agency will ask for financial records from your bank. If you have a scholarship like I did, you only need to upload your scholarship acceptance letter to prove your financial support.
Another crucial point: all documents must be translated into English or Swedish. Keep that in mind!
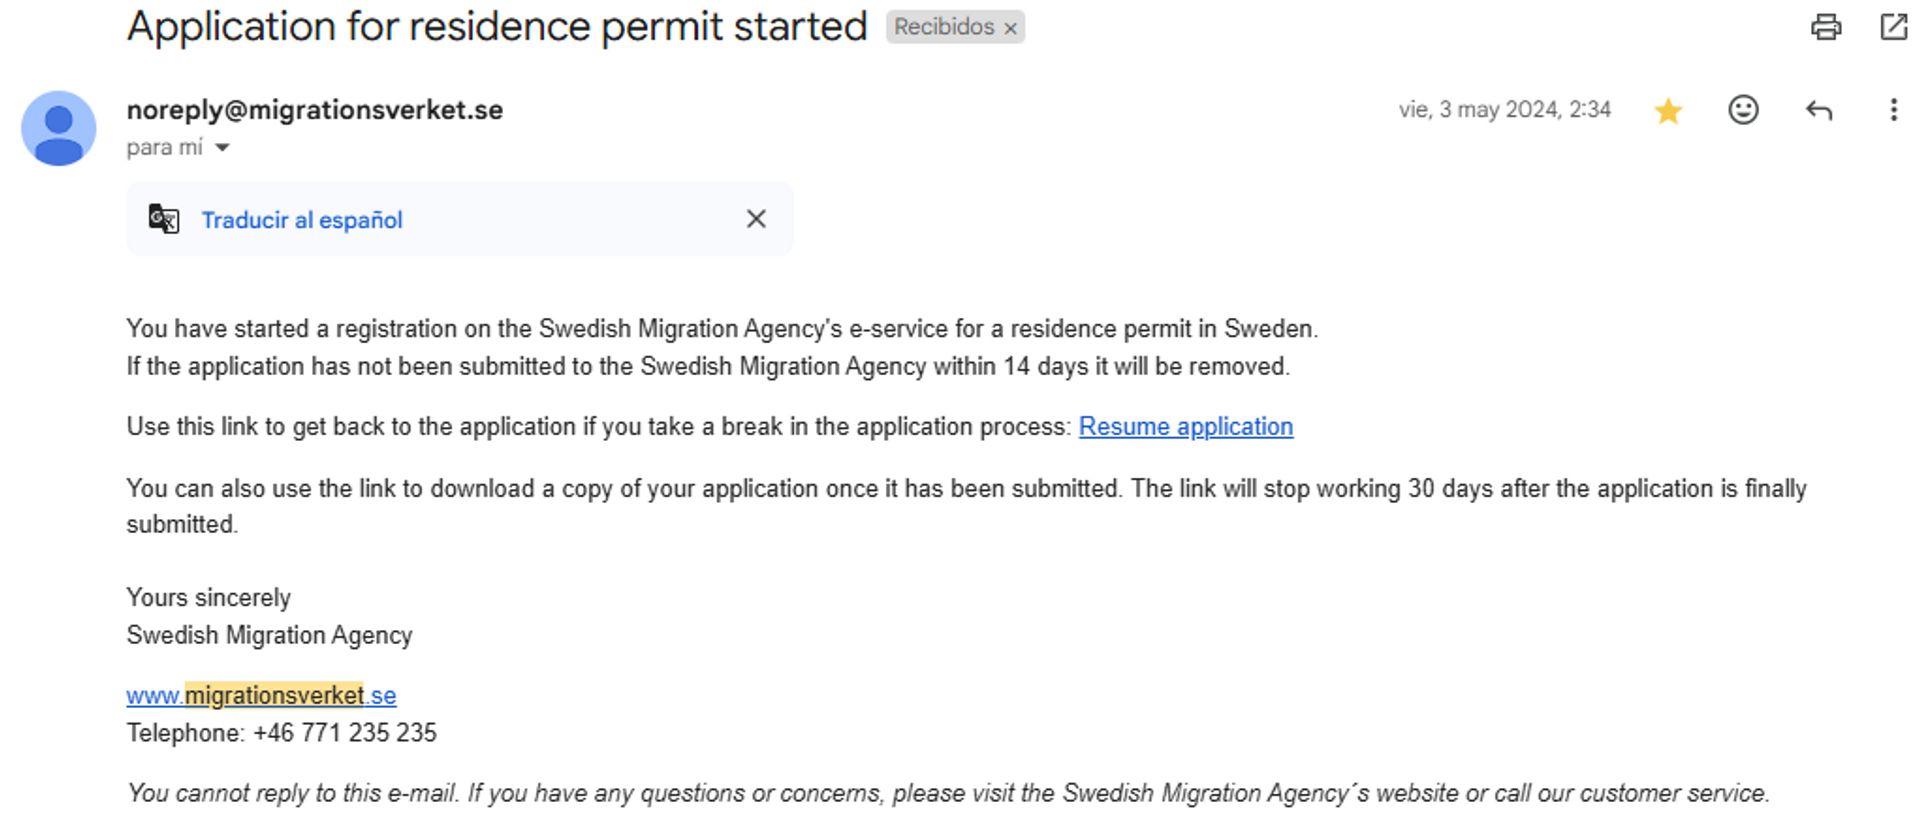
I submitted all my information on May 3rd.
Step 3
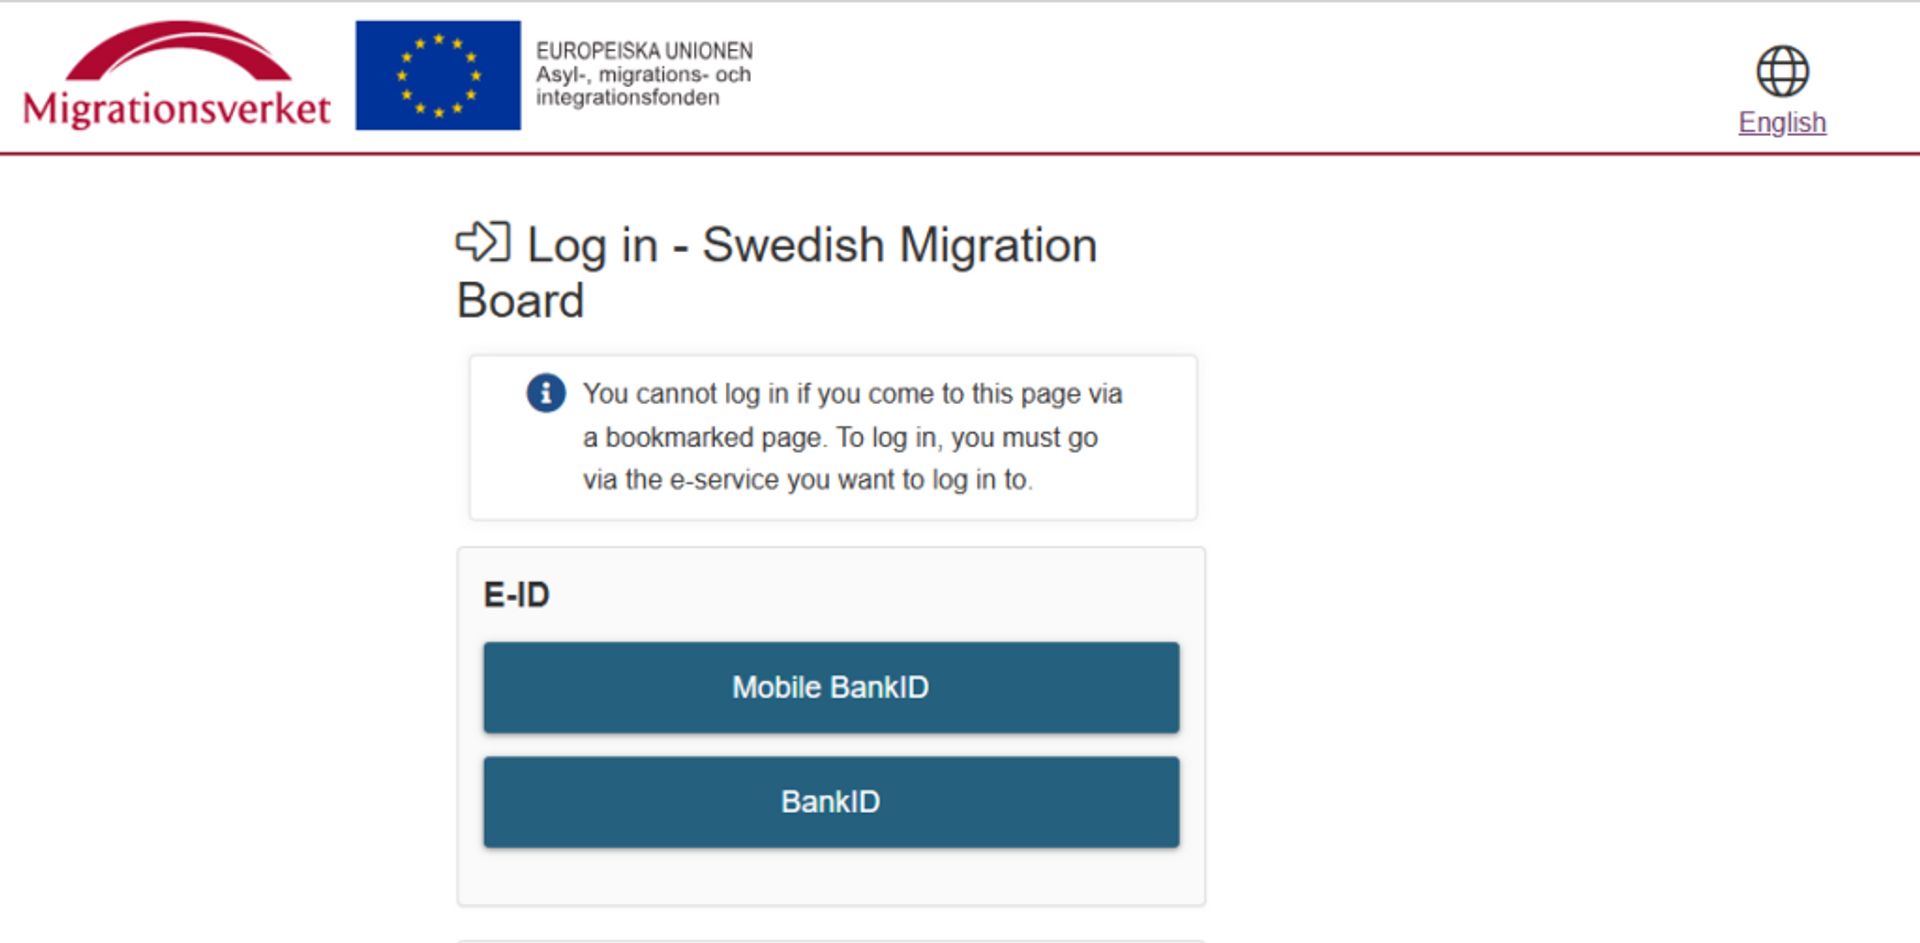
After submitting your application, Migrationsverket will open a case and contact you by email if they need more information, if you missed something, or made a mistake. You can easily track the status of your case using the case number and logging into their website.
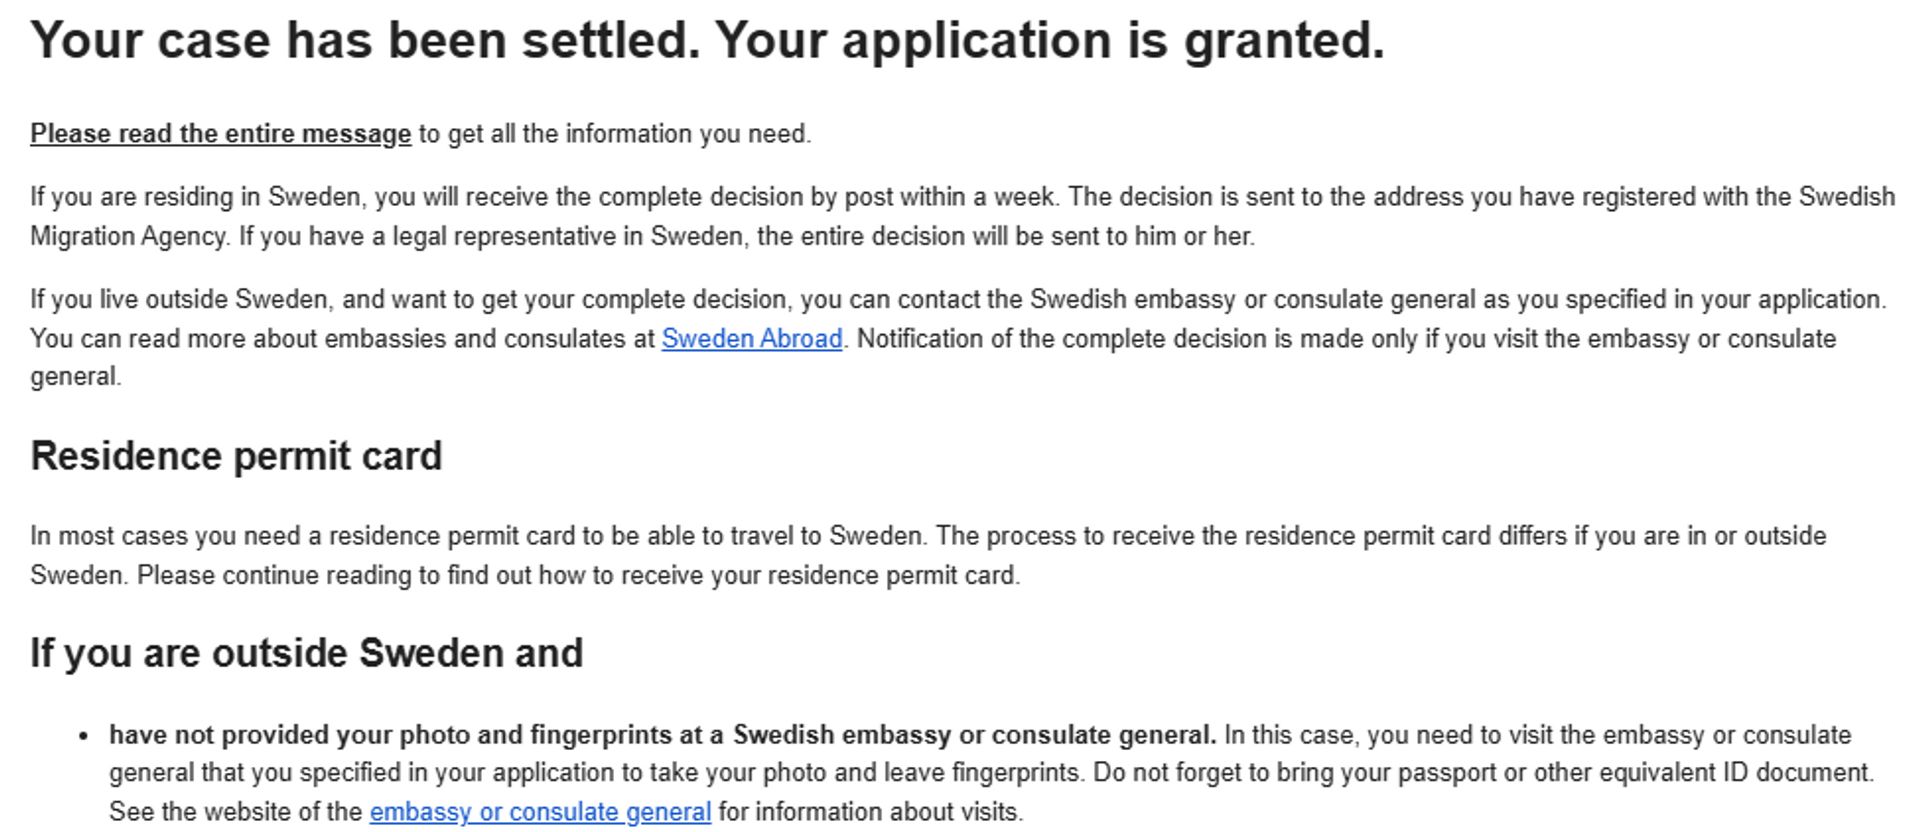
Once a decision has been made, they’ll send you an email with instructions and invite you to visit a Swedish embassy to show your passport.
Important tip: Try to do this process in May or at the very beginning of June. In Sweden, most people take a long vacation in July, so your application may take longer if you submit it during that month. Avoid it if possible!
Step 4
Now it’s time to find the nearest Swedish embassy. Depending on where you live, this may involve traveling to another country.
In Peru, we don’t have a Swedish embassy, so we have to go to the nearest ones, located in Colombia, Chile, or Argentina. From what I know, most Peruvian students choose either Colombia or Chile, with around 90% going to Colombia.
I chose Colombia. For the Swedish Embassy in Bogotá, no appointment was needed—they accept walk-in visits for residence permit matters on Fridays. Once you’re at the embassy, you’ll be given two options:
1) Getting just the decision letter
Pros:
The main advantage is that it’s fast—most of my friends who chose this option got their decision on the same day and picked up their letter the following Monday. I went on Friday, May 31, but due to a national holiday, my application was approved and ready by June 10. So, it can take over a week if you’re unlucky like I was.
If you can’t return to the embassy to collect the letter, they can send it to you free of charge.
Cons:
The letter is in Swedish, and since you’ll be traveling with it, it’s better to have an official English translation. That means extra cost and time.
Also, this is not a residence permit card. Some airport officials may ask more questions, especially if you don’t have a return ticket. This rarely happens—but it did happen to me in Panama during a layover. They asked for my return ticket (which I didn’t have), so I had to show my decision letter and additional documents proving I was going to study in Sweden. Thankfully, I had printed everything and was eventually allowed to continue my trip.
From all my Peruvian friends, I was the only one who experienced this issue, but it’s something to be aware of.
2) Getting the residence permit card
Pros:
You won’t be questioned at the airport, and you can travel more confidently—especially helpful if you’re traveling with pets or have multiple layovers. You’ll feel much more secure.
Cons:
It takes time—usually up to a month. If you plan to arrive in Sweden early, this option might delay your travel.
I didn’t choose this option, but some of my friends did. They also went to the embassy on the same Friday as me. Instead of just showing their passport, they had their photo and fingerprints taken, which means they only had to visit the embassy once.
After that, they had to wait until the card was ready. Most of them traveled in August, and I know a few who received their card just days before their departure. That uncertainty can be stressful, especially when trying to plan your travel dates.
Also, if you don’t live in Bogotá (or near the embassy), the card has to be shipped to your country, which can take additional time.
Step 5
If you went with option 2, congratulations—you’re done!
But if you chose option 1, there’s one more step: you’ll need to make an appointment with Migrationsverket in Sweden to have your photo and fingerprints taken.
It’s a good idea to book this appointment while you’re at the embassy showing your passport—many students will be doing the same, and appointment slots fill up quickly.
Once you’ve had your appointment, you just need to wait for your residence permit card to be issued—and that’s it!
Final note:
You can only continue the process in Sweden if you’re allowed to enter the country without a visa. For example, Peruvians can travel to Sweden and stay for up to three months visa-free, so it wasn’t an issue for me. But for students from countries like China, this option wouldn’t be possible unless they have a visa.
I hope this breakdown helps you feel more prepared! Let me know if you have any questions—I’m happy to share more about my journey. ✨